
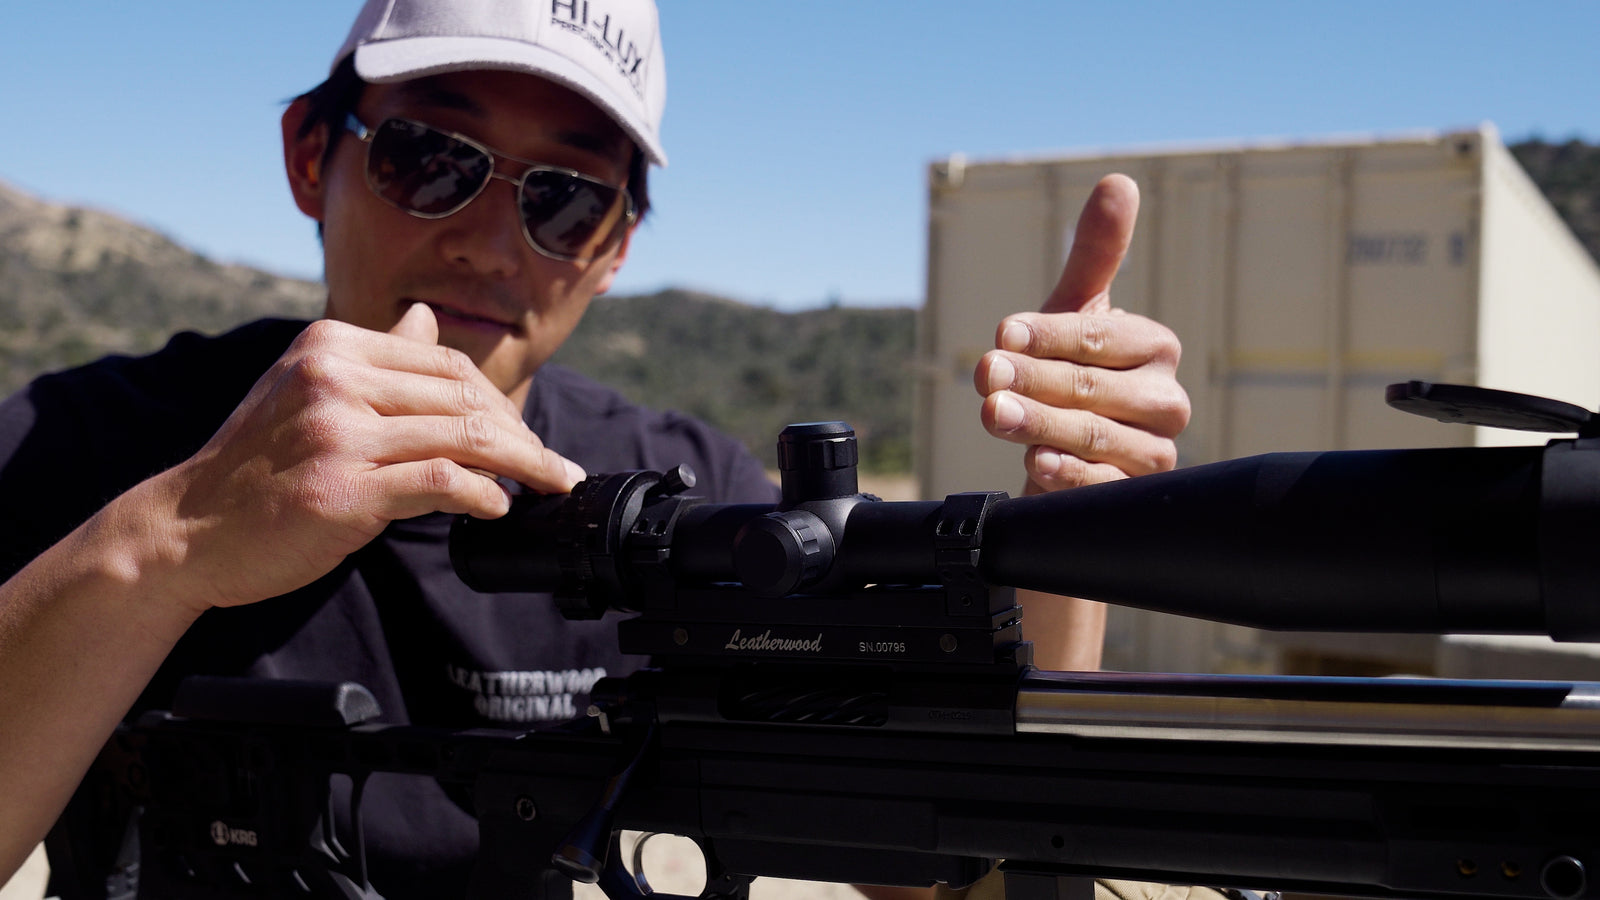

When we set up an A.R.T. Scope at the range, we tend to follow the same pattern each time. First the mounting, which has its own steps, setting the CAM, then the close zero and actual zero, the confirmation and adjustment, and finally tuning the CAM and taking the scope out to distance. If you're unfamiliar with the ART scope line, this may seem like an odd series of steps. We thought it might be helpful to film our full setup while talking through what to look for (see the video embedded above), and take the room here to flesh out a few more details.
This walkthrough was performed with the M1200 XLR, though the steps can be followed for any ART scope. Just make sure to set for the correct zero distance, and look up the CAM setting for your ballistics.
Introduction
Today we're putting the Leatherwood A.R.T. M1200 XLR on a 6.5 Creedmoor - Defiance Action. This is a rifle built for range and a scope built for easy ranging. Seems like a good pair!
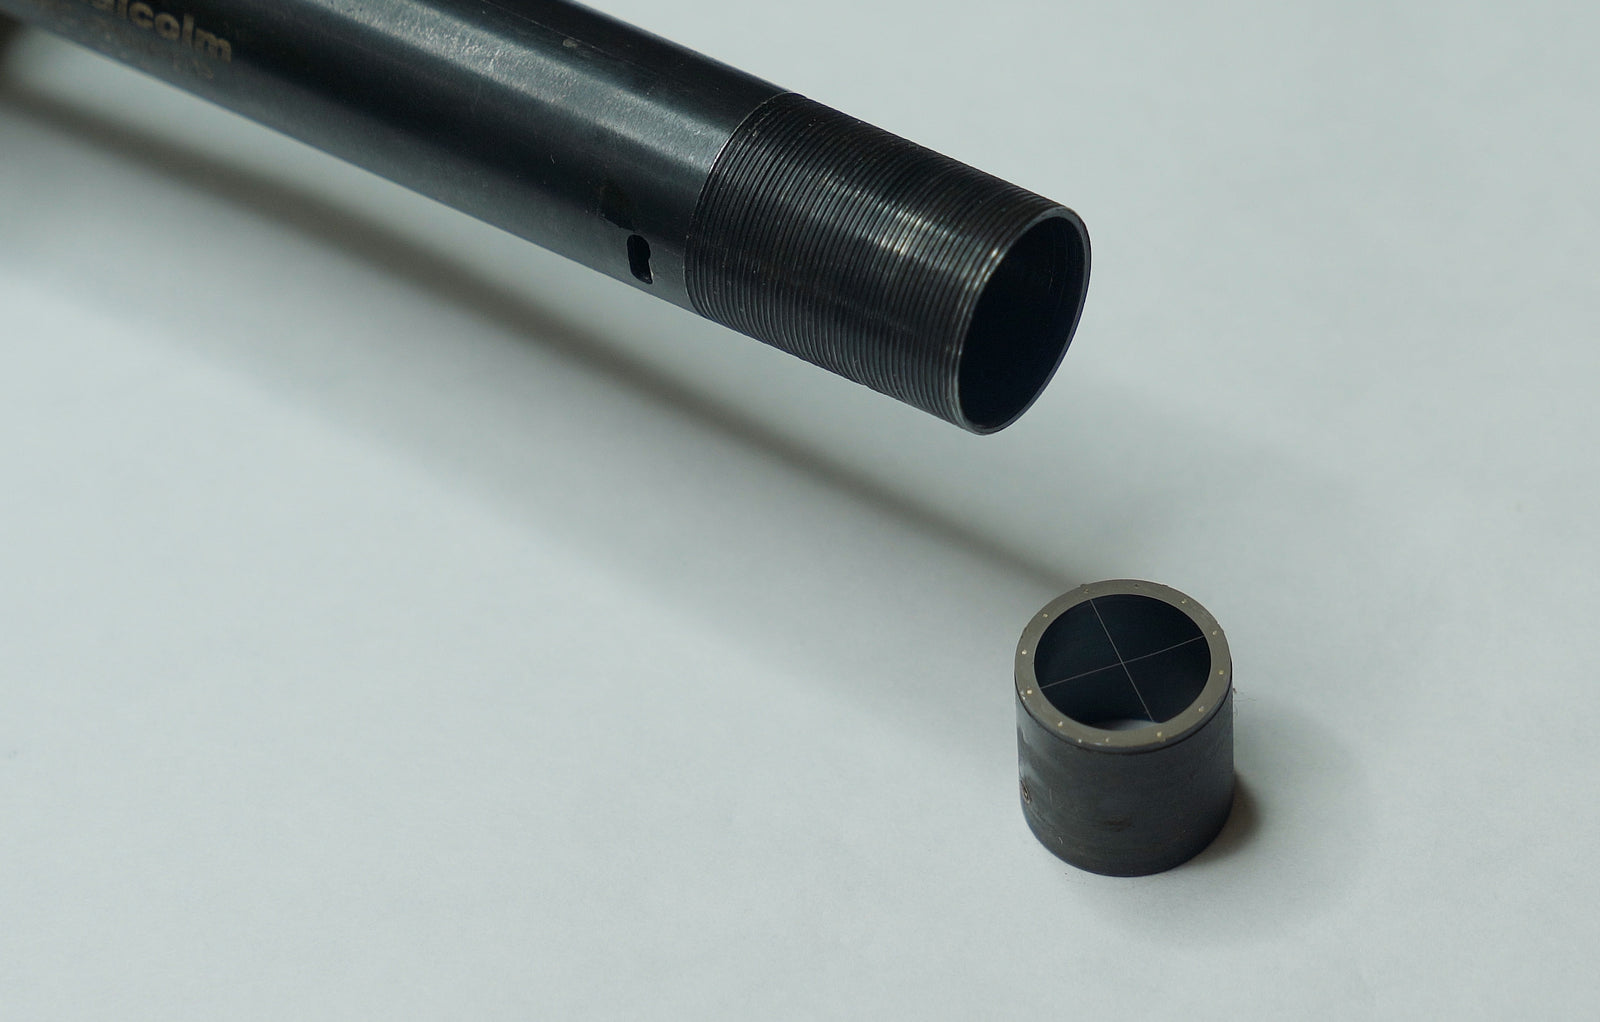
Mounting

Mounting an ART scope is as twice as easy as putting two scope rings on a picatinny rail; the integrated mount is just one piece, and it only has to clamp onto the rail at the proper eye relief position.

When you have your eye relief set, make sure to push the integrated mount forward (towards the muzzle) to push the crossing lug up against the groove of the rail. This reduces the chance for recoil to move your scope.
Setting the CAM
First, you're going to need access to your DOPE or a ballistic calculator such as JBM ballistics. Run the numbers for your round, assuming the zero is:
- at 300 meters (or yards) for the M1200-XLR
- at 200 yards for the M1000-PRO
Check what the drop values would be (in MOA) down range every 100 meters. Compare that to our CAM settings chart to see which setting has the most similar drop characteristics. Finally, set that CAM value on the calibration ring by lowering the CAM to the lowest value (no added elevation adjustment) and then:
 Loosening the CAM calibration ring set screw (counter clockwise)
 Twisting the CAM calibration ring until the correct value lines up with the CAM arrow
 And then tightening the CAM calibration ring set screw to lock the setting in place.
Setting the Target
We shoot intentionally 'off crosshair' at 25 yards to verify that the bullet is on the right path to impact at 300. Using this method, we can place a few shots on paper at 25 yards, then move the target out to 300 and expect to still be on paper. Since we're going to be boresighting at the same distance that we'll be close zeroing, we set the target at 25 yards at the start of the day.
Boresighting

Boresighting is the next step in our standard zeroing procedure. For a bolt-action rifle, this is quite easy: remove the bolt. Look down the barrel and use sandbags or clamps to line the barrel up with some specific target. Then, without moving the rifle, dial your scope adjustments until the scope is looking right at the same target. You are now boresighted, and much more likely to end up on paper with the first shot.
Parallax
The parallax setting is a sort of focus for your scope, helping to set the reticle on the same plane as the target. Dial the parallax setting to the distance to your target, or until the reticle stops 'floating' above the target.
Manual Mode
This scope can be turned to 'manual mode', where the CAM and the magnification are not tied together. This is always useful if you're shooting towards a known distance, but still want to have a magnification other than the one you'd expect - for instance, zeroing at 300 meters using 10X magnification. To set the scope in manual mode, just loosen the zoom ring's thumb tab screw. When you pull the ring back (away from the others), it will detach and be able to move independently. If you wish to re-engage automatic mode, line up the thumb tabs and push forward.
Shooting at 25 Yards

Now that the scope and rifle are all set up, it's time to put the first few rounds through paper. Chris was less than an inch off the bullseye with his first shot... but he needs to be 0.8" below the bullseye for the bullet to be on the right path for a 300 yard zero. A bit of dialing and some shots for confirmation, then we're moving the target on out.

At this stage, the turrets are being used to set the point of impact. The CAM should still be at its lowest setting (no added adjustment) while getting zeroed. This is done by turning it all the way clockwise, and can be verified when the CAM doesn't want to turn any more. Also, there won't be a gap in the mount where the spring lifts up.
Confirming 300 Yards

With the target out at 300 yards, it's time to take a few shots and check that our zero is right where it should be. Chris took 2 shots to verify. At that distance the bullet holes disappear completely through the mirage.
A closer inspection shows that the two confirmation shots were low and right about 2 inches. Won't take much of an adjustment to get the scope right on target - it's off less than 1 MOA, with a grouping of 1 inch. At this distance, the 1/4 MOA adjustments of the turrets would move the point of impact 3/4" per click. These impacts are off by 2 clicks.
This will be the last time we're using the turrets to adjust. From here on out, it'll be holdovers for close distances and CAM for anything further out.
Calibrating the CAM
If you go on to take shots at farther than your zero distance and find that your shots are consistently going a little high or a little low, you may need to calibrate your CAM to be closer to your current ballistics. This is as easy as setting the CAM value, except you only need to move the calibration ring by a few tick marks. If you're shooting high, move the setting to a higher one (for example, from 580 to 590). If you're hitting consistently low at greater distances, adjust the CAM value lower (so, from 580 down to 570).
Using the ART

Now that the scope is dialed in and the CAM is set, it's time to run through a standard 600 yard challenge course. One shot per distance, first round hits only. Starting at 100 yard, the reticle has to be held a little below center to account for the 300 yard zero. Same for 200 yards, though it doesn't need to be held down as far. 300 is right on point, so center of the crosshair on the center of the target. At 400, Chris begins using the CAM to dial in the elevation adjustment. At 500 and 600 yards, he uses the ranging reticle inside to frame.


Karl Capobianco
May 08, 2024
Wouldn’t it be great if you made custom ground cams for the very popular 6.5 creedmoor? Make the cam profile follow the 140 gr horandy boat tail exactly!! It would be great to be able to order custom cams for long range calibers.