A while back, we took a look at one of our show demo rifles (a lovely 1885 High Wall, with the firing pin missing) and decided it was time to turn it back into a real rifle. I particularly wanted to feel the punch of some .45-70; there's just something magical about sending a heavy piece of lead really far away.
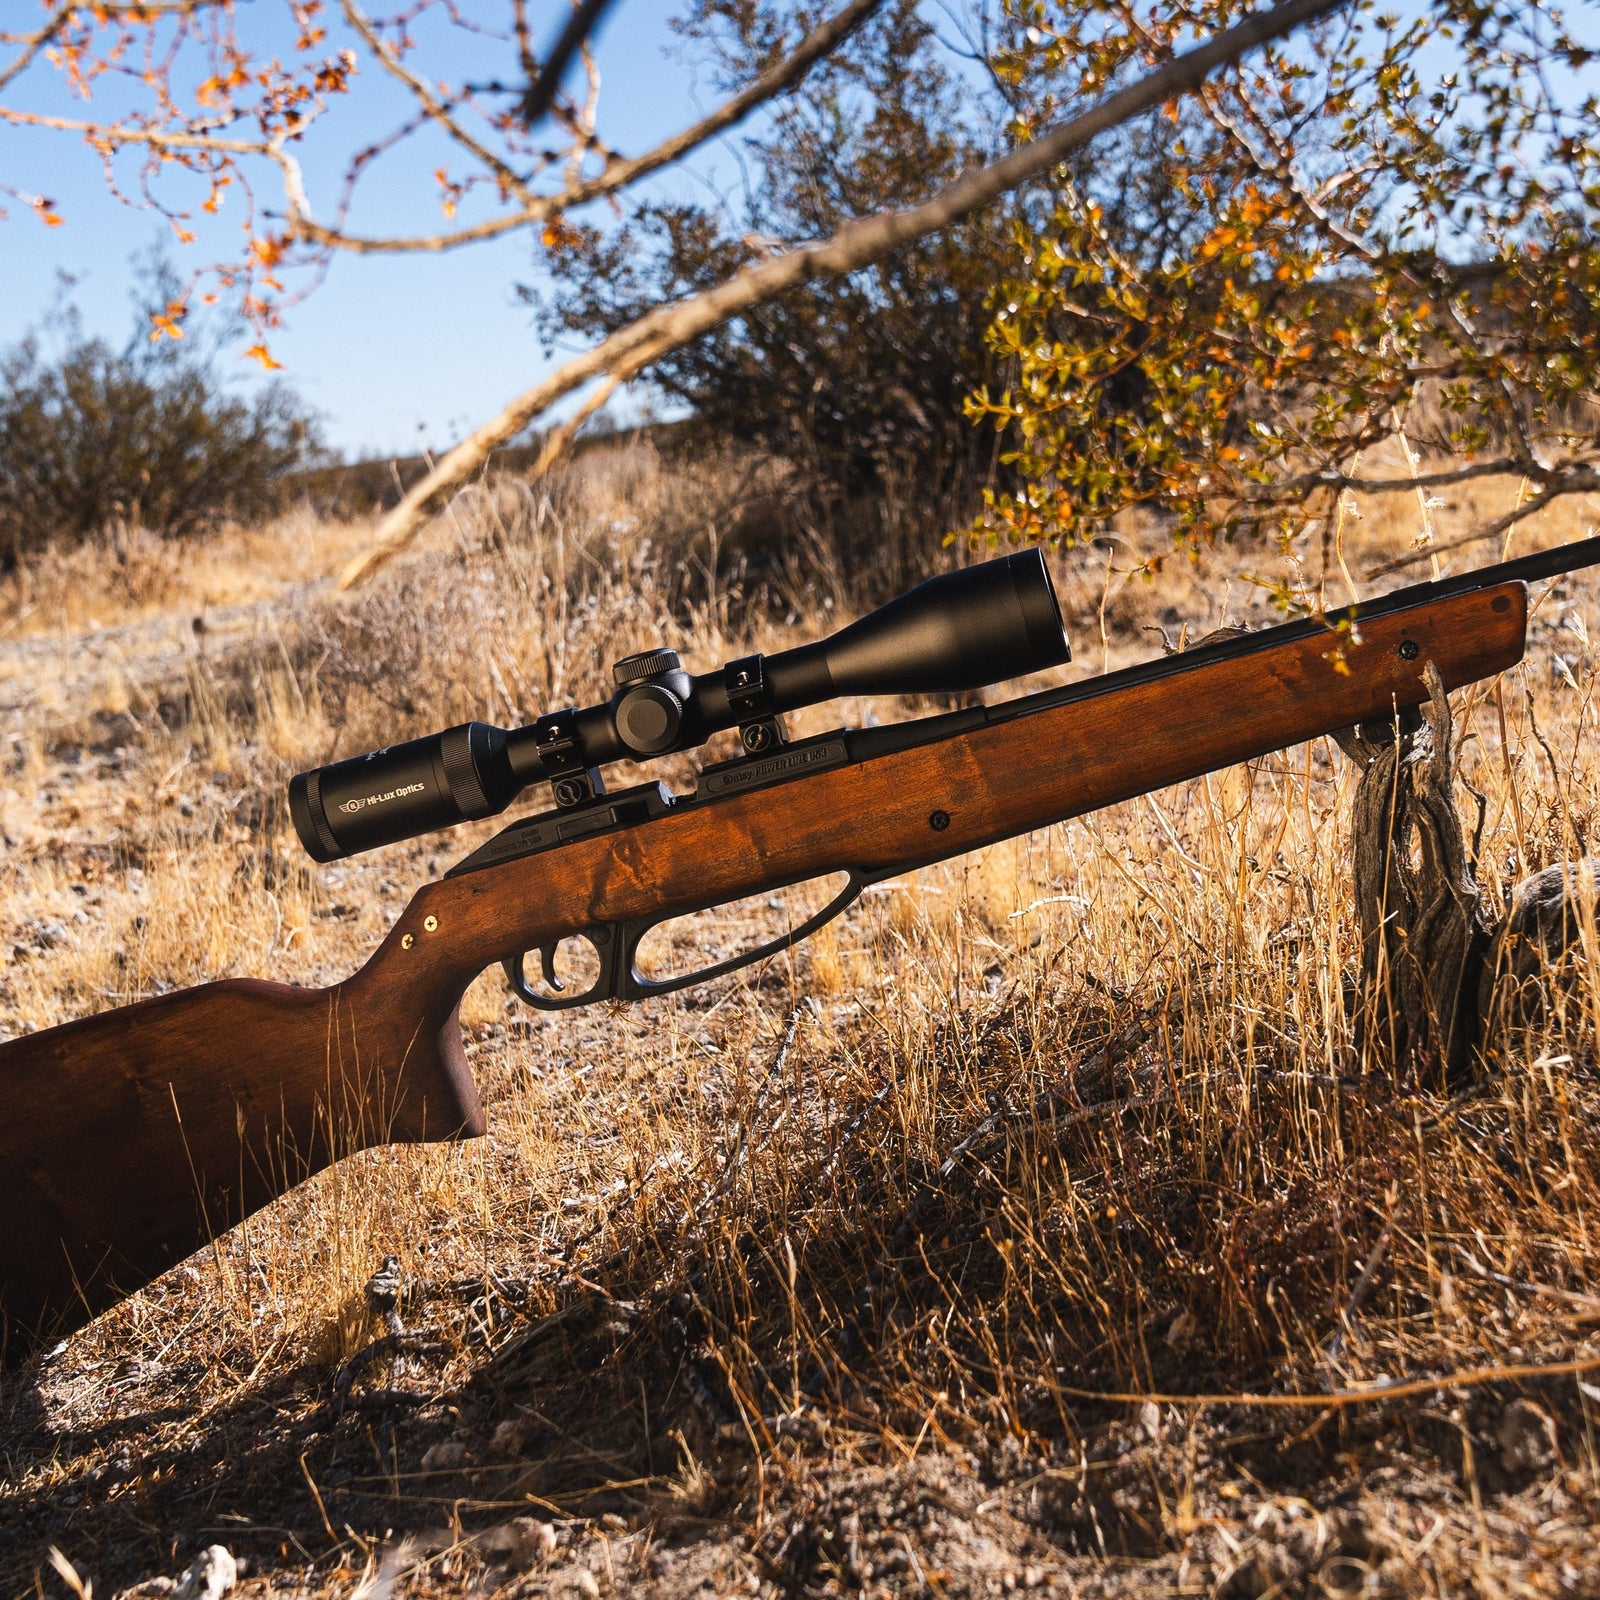
The first step, assembling the rifle, was also the first problem. There weren't any videos or guides on how to disassemble or reassemble the 1885... and we didn't have the firing pin. To top things off, the rifle was only set up to mount the A5 style of Malcolm scope. I wanted to be able to mount any scope. And have plenty of reason to shoot plenty of bullets.
So began the Century and Counting project.
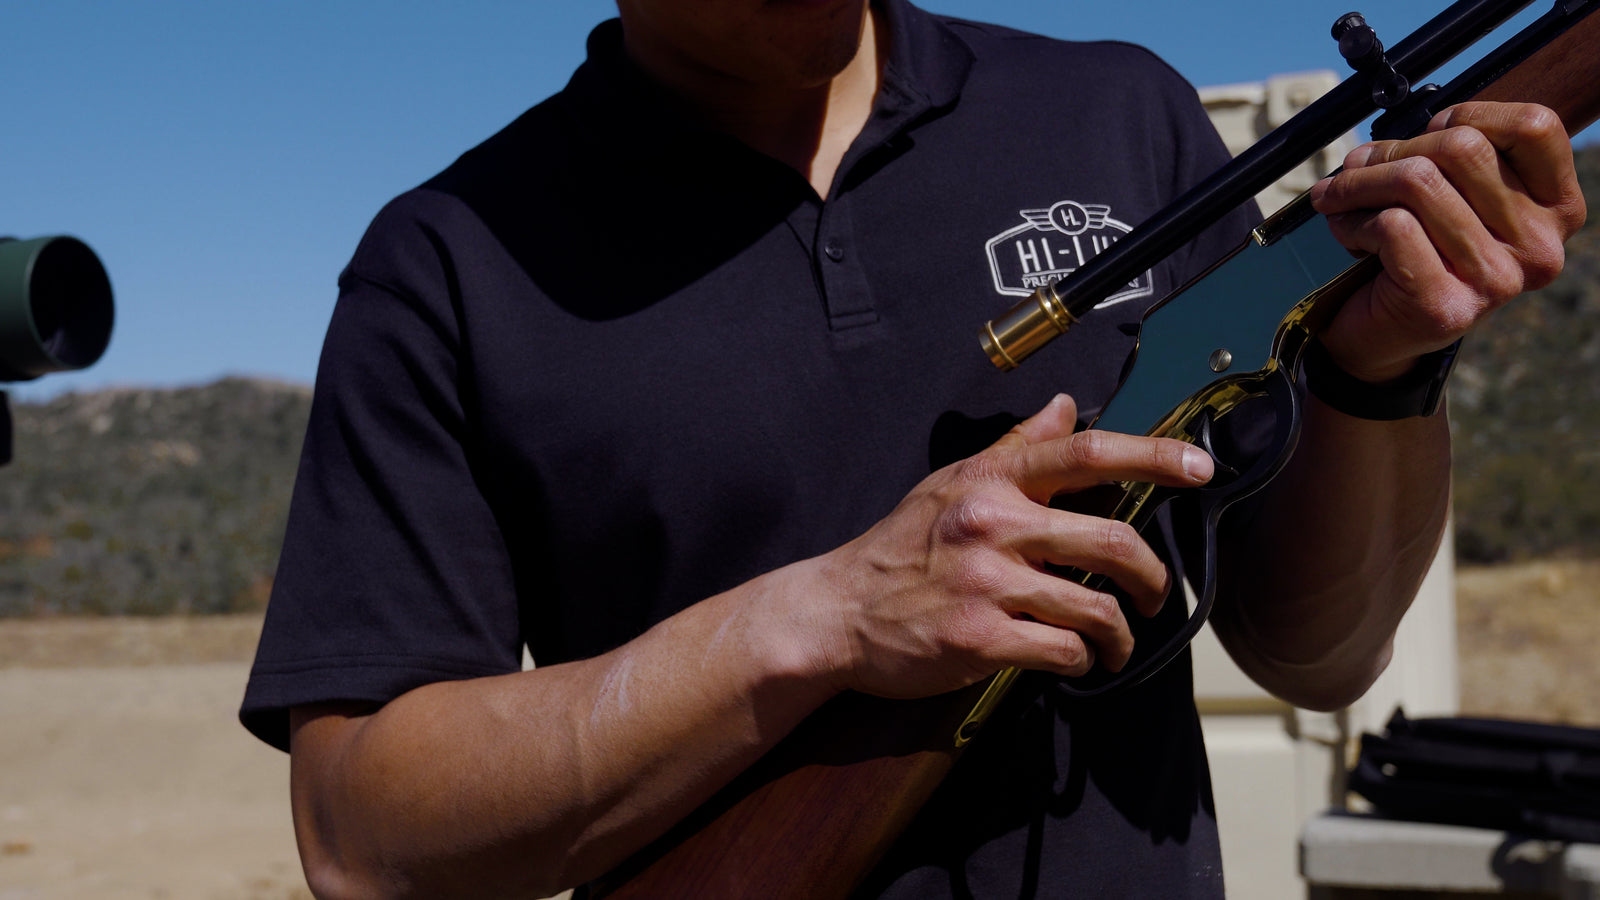
Since its start last year, we've added a few rifles to the project. First, a Henry Golden Boy, in .22. It pairs well with the latest Malcolm short scope, and was used immediately in an office lever-action poker competition, where it beat my H001. Then we added the Winchester 94, firing .30-30. Ammo, especially primers, are still tough to come by. I mounted a scope on the rifle for now, but we'll have to make some ammo before we take it out to the range.
Below is a list of all 11 episodes in the first season. The intro, 8 general episodes (mostly on the 1885 High Wall), then 2 about the new office rifles (Henry Golden Boy and Winchester 94). If you enjoy wood furniture, I think you'll find something here to enjoy.
Introduction to the series.
Episode 1 - Rebuilding the High Wall
Episode 2 -
Shimming and its Issues
Episode 3 -
The Gunsmith
Episode 4 -
Sighting in the Long Scope
Episode 5 -
Long Scope and Odd Loads
Episode 6 -
Mounting the Long Scope
Episode 7 -
Mounting the 6X Short Scope
Episode 8 -
Lever Action Poker
Aside 1 -
The Henry Golden Boy
Aside 2 -
The Winchester 94
Episode 0 : The Trailer
Episode 1 - Rebuilding the High Wall
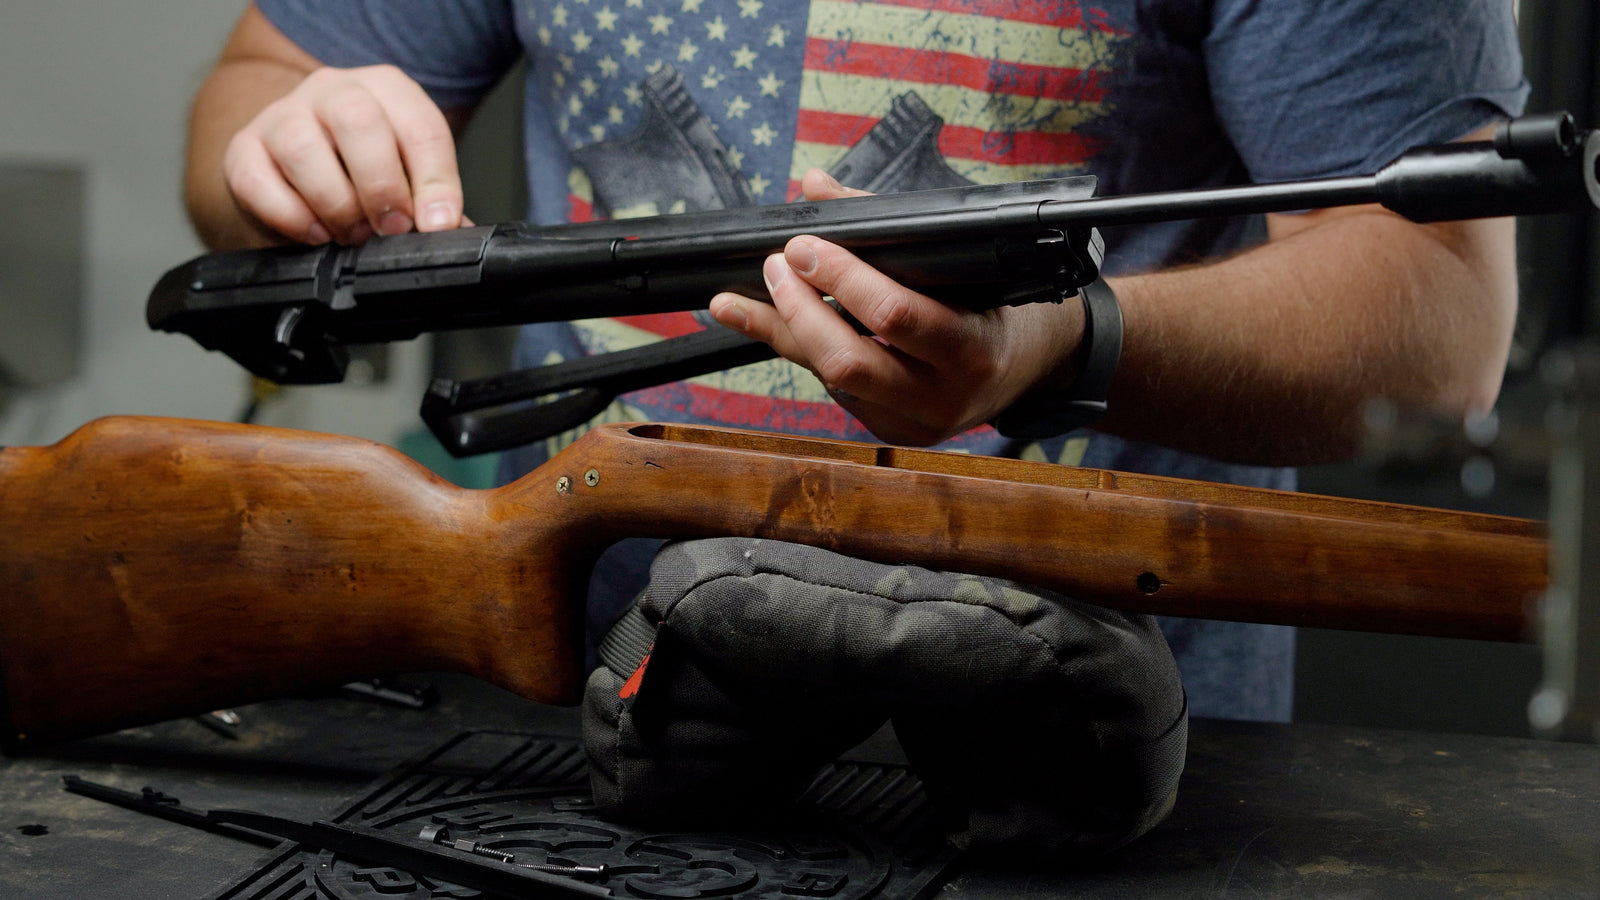
Step one in getting this project going is getting the firing pin back into the rifle. This rifle had been used as a demo rifle at different shows, and we misplaced the firing pin somewhere along the way. There weren't really any guides online on how to disassemble one of these, so I went with the old fashioned way - take it apart and label everything. Fortunately, aside from the flat spring, everything had only one place and one way to fit. As far as rifle design goes, the 1885 high wall is a beaut'.
Episode 2 - Shimming and Its Issues
The first lesson learned - .45-70 kicks really hard. Hard enough, in fact, that it is essential that the mounting screws are the proper length and have enough grip. The holes that were pre-drilled in the Miroku receiver were shorter than the screws we had on hand. Rather than grind the screws down (or go home and get the dremel), I went ahead and tried shimming the scope blocks up a bit. An old soda can and a hole-punch is a great way to make some shims... and shims are a bad way to mount the scope. Seriously: get the right screws if you're going to be shooting any of these kinds of cartridges.
Episode 3 - The Gunsmith
We tracked down a local gunsmith and had drill and tap the barrel. In total, I had 6 new holes put in - two pairs of two holes for the normal blocks, then two more holes (near the dovetail) to fasten down the long scope's heavy duty base. We actually spent more time talking to Sal at Match Grade Gunsmiths than he spent drilling the rifle. It was a straightforward process.
Episode 4 - Sighting in the Long Scope
With the long scope mounted up, it's time to get it sighted in. This day was focused on getting used to the rifle, which made me realize my hat choice is all wrong. The brim of the hat gets punched back by the eyepiece - and it's a strong brim. Regardless, we got the velocity and figured out a few other details on the rifle and the load. A very pleasant day overall.
Episode 5 - Long Scope and Odd Loads
A buddy of ours gave us some .45-70 rounds that had been hand loaded a while back. The sticker that gave info on the load and the bullet had shriveled up and fallen off long ago. Without any other way of knowing, we decided that the bullets had to be shot so that we could figure out what they were. Turns out they were around 500 grains of lead. That's got some kick to it.
Episode 6 - Mounting the Long Scope
It's time to switch from the long scope to the latest short scope. I realized that I hadn't filmed any video about putting the long scope on the rifle, so this was a good time to do it. This is a follow-along video. Make sure you've got those dovetails ready! And maybe some blue loctite.
Episode 7 - Mounting the 6X Short Scope
Now it's time to get the Malcolm 6X Two-Tone scope mounted up. This was even easier than the long scope: 4 screws, 2 rings, then set the eye relief and level the reticle. This has since become my absolute favorite scope. It's built to slide (to reduce the effect of recoil on the scope tube), which is a great relief when this rifle shoves back toward you a couple inches.
Episode 8 - Lever Action Poker
After a brief hiatus due to a shortage of primers (and many other loading components), we found other ways to have fun with the Malcolm scopes. We can't go too long without an office competition - and this time it's poker, using two .22 Henry rifles. I had the H001 with a more modern scope (still need to make a no-machining mount for this model..), while Chris had the golden boy and the two-tone. I was envious, and even more so when he won. Maybe I'll put one of the A5 scopes on my rifle soon. Darn desert wind...
Aside 1 - The Henry Golden Boy
We have a no-machining mount for the Henry Golden Boy. Putting it together is easy - it only fit on the rifle in one direction, and there are 3 screws to tighten. Follow along with this video as I go through the ins and outs of putting the HGB mount on the rifle, then the scope on the mount.
Aside 2 - The Winchester 94
The Video - Age Restricted on YouTube. I'm not sure why this video was restricted... but you can still see it if you have a YouTube account. I can't embed the video here.
Much like the Henry Golden Boy video, this is a follow-along guide to mounting a scope on the Winchester 94
without machining. This mount is made up of two pieces, but it still only fits on in one direction. Easy setup for this one too.

Leave a comment (all fields required)