


Hi, I’m Bob Coles, knowyourzero.com.
Today I want to talk about mounting an optic you finally purchased. I’m sure you shopped around, got the style you like, 1 inch tube or 30 millimeter tube, whether you’ve got target turrets on there or covered for hunting, there’s a lot of options you had to decide before you bought that piece of glass. Now let’s talk about how you’re going to mount it to the rifle, the proper way - to keep it from losing zero and from scratching the tube up when you’re adjusting it, trying to get it just how you want it.
So stay tuned, ‘cause we’re going to cover a lot of details on how to do this.
Hi, welcome back to knowyourzero.com, and once again we’re in the shop. I want to talk to you about mounting that optic you laid down all that good money for and how to put it on there without denting the tube and scraping it all up.
For demonstration purposes this isn’t locked in a vice, I just have it sitting on some sandbags. We’re just going to walk you through on what you need to do. But, if you’re doing this at home, you would have a nice rifle vice, something to hold it solid.
We’ll start off: This is a one-piece dual dovetail mount, and these rings get twisted in. You’re going to use a bar - use a 30mm - not the optic. Never do that. You’re going to put a bar in here and you’re going to put your top clamp on - and, usually the bars are a little longer - and you can just ‘cam in’ the dual dovetails. When you cam them in, the purpose of these bars is: put them on front and back, and put your top rings on and you’re going to push these bars together. What you want to see is if the points are off; up, down, twisted, or whatever. You can get them so they’re perfectly in line.
You want to get these rings in line with the axis of the bore. You don’t want them off at all.
So, once that’s all set you’re good to go, but… what if you have a picatinny rail or a weaver rail that’s put on here? And you’re like, “well, I don’t have to twist these rings on, just put ‘em on and I’m good to go.” Well, what you want to do in this case is, when you set your ring on forward of the muzzle, you want to push the rings that direction. You want to preload them against here. There’s a little slop in there, and that bar on the bottom needs to be pushed forward and preloaded for recoil. As the rifle recoils to the rear, it’s pushing against the ring. Otherwise, if you put it to the rear it could be a little sloppy, it could move. Maybe not on this 6 mm .284 cause it’s light recoil, but you put it on a 7 mag or a 6-5 weatherby, there’s some recoil there and things are going to move. So, save yourself a lot of grief and preload those rings on there.
With the screws in the bases and with the screws on the tops and the caps - just a drop of 242 loctite. Clean the screws up in a nice solvent, dry them off. And you’ll see oil on the threads because the manufacturer ships them lubed because they don’t want them to rust, they could be in a warehouse for a while. Clean that off. Get it dried. Just a drop. Then run ‘em in.
The manufacturers will specify the inch-pounds for the bases, and they’re going to specify the inch-pounds for the cross bolts. Leatherwood / Hi-Lux recommends 15 inch-pounds for the cap screws on the tube. That’s going to prevent you from marring the tube, denting it - and you don’t want to do that, so pay special attention to that.
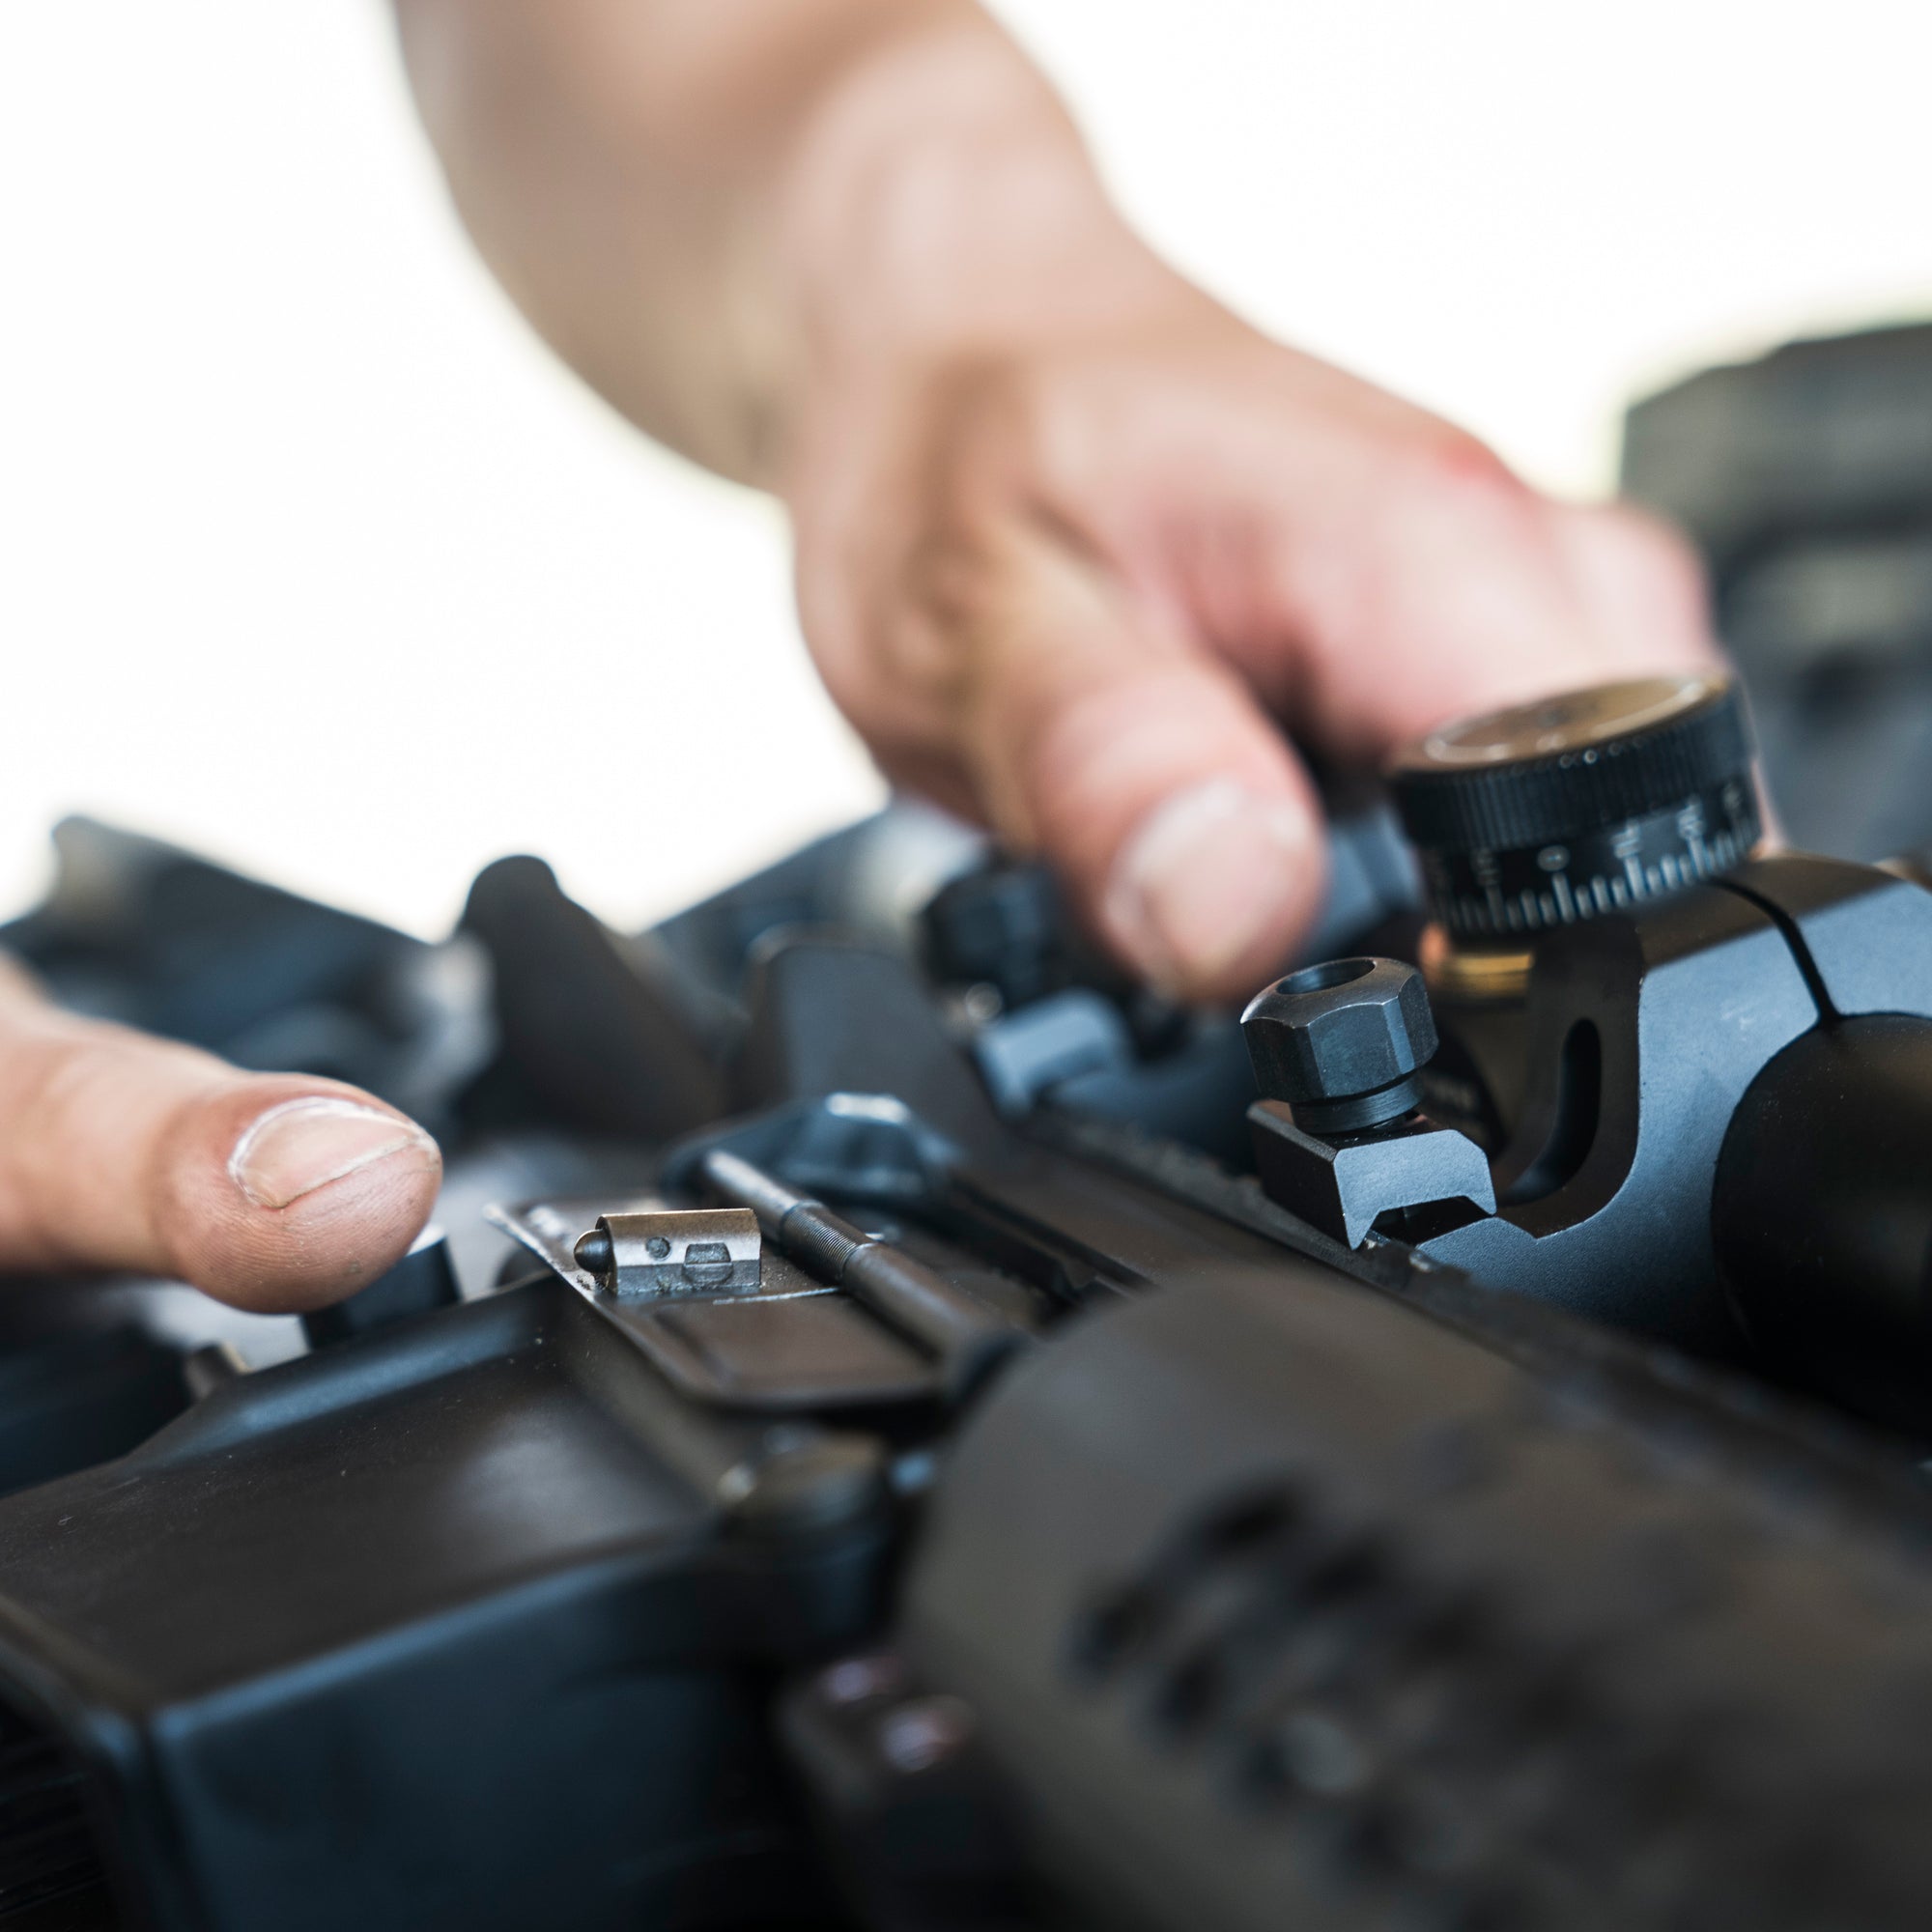
So you’ve got your base on. You’ve got things square, lined up, and you want to go ahead and put your optic on. So, when you set it in the cradle, you want to make sure that it set nice, things are good, it’s not tweaked or pinched or canted. You want to have a stress-free mounting. If there is any misalignment and you go ahead and mount that scope and you’ve induced mechanical stress on here, your zero will shift in storage. Because you’re inducing stress to that tube. So make sure things are perfectly aligned.
A lot of times people say, “at this point, throw your top caps on, tighten ‘em down just a little bit, and shove the scope back and forth and turn side to side to get your eye relief just how you want it.” You’re going to take your magnification and you’re going to turn it up to maximum magnification, you’re going to get behind the rifle, and you’re going to adjust eye relief. 3, 3 and a half inches, pretty much industry standard. ‘Cause that recoil, you don’t want scope bite, where it’s hitting you in the eye. So, i suggest don’t put the top caps on. Go to your mail pile, grab a rubber band from the postal guy that drops that big bundle of checks off and… take this, wrap it around the bottom, put it just on the opposite turrets. Make sure there’s not too much stress on it. What that’s going to do is it’s going to give enough downward force on the optic to keep it from turning, shifting one way or another. And you can get behind the rifle and, “Oh, I have to move it back a little bit because I don’t have a good picture.” You’re going to pick it up and you’re going to move it back a little. No drag, no scrapes, no nothing. You’re going to do that until you get perfect eye alignment. “Okay, I got it just how I want it.” And the reason I always do my eye alignment high magnification, ‘cause once it’s set there, and you turn it down to low, your sight picture will not diminish. It’ll be just as good as it was at maximum magnification.
So, now you need to square the reticle to the bore. And that is very important because you don’t wanna have it canted. Just one degree of cant will throw a 500 yard shot off big time, so don’t go there. There’s a lot of devices out there to level the reticles. I like reticle leveler. It’s simple, easy to use, and effective. You’re just going to take this, wrap it around with a rubber band. You’re going to find a flat surface. If you have a weaver rail, you could stick it in between there. On this dual dovetail I’ve got a nice flat surface. You’re going to kind of move the rubber band back and forth until the bar sits perfectly flat. If it’s kicked up on one side, move your rubber band it’ll finally sit flat. And you can just test that by pulling one way or another. Yep! Looks like we’re doing good on that. Then it’s good and flat. What you’re going to do then is you’re going to get behind your rifle and you’re going to look through at the reticle. And when you see the crosshairs, what you want to do is see if your crosshair and your reticle leveler are on the same plane. If the crosshair’s turned, all’s you got to do is very gently pick the scope up, and turn it. Set it back down. The rubber band will hold it right there. Keep doing that until everything is on the same plane. Everything’s perfectly horizontal. If you’re looking through here, both eyes open, and you’re having a tough time, your eyes focusing, shifting from one to another… like, I’m right eye dominant, put my hand over my left eye and then looking through the scope, take it off and you’re going to see the black lines from the reticle leveler pop right up and you’re going to see whether it’s there or not. And after a while you can train your brain to do it, you don’t have to … it’s second nature to see it.
So when you’ve got proper eye relief, it’s level, then you’re going to go ahead and put your top ring caps on. And, once again, you’re going to clean ‘em. Use a little 242, just a drop on there, and use manufacturer recommended specs. I like the fat wrench / torque wrench. Leatherwood is 15 inch pounds on these, so don’t go any more than that. Check the bases, check the ring base screws, proper torque on all that stuff. And torque in a criss-cross pattern. Don’t just crank this one down to 15. Start at like 8, 12, work your way up criss-cross as you go. Make sure it’s good and solid.
So now that you got it torqued down, you got your caps on the top, it’s not going to move, you got a good side picture… now we need to pre-zero it in the shop before you take it out to the range. A lot of people say, “well, okay, just pull the bolt out and look down the bore, click click click and get it there,” but if you have a private range like myself, time is no big deal. But if you have a public range, the people are waiting for you to get out of there so they can do their thing, you want to be as efficient as possible. And so, I like using collimators or bore sighters with spuds on them. Some people don’t like the spuds, they like the magnet ones. To each his own on that. A little bit of lube on there, slide it in there, it’s not going to damage your bore. So you’re gonna slide that into your bore. You wanna make sure the height offset from the center of the spud to the center of the collimator matches center of your scope to the center of your bore. And this grid, once square, is 4 inches at a hundred yards. And you’re simply gonna just adjust your turrets to where they have to be. If the adjustments are grossly huge, split them in half. Go elevation, windage, elevation, windage. Don’t just do a ton of windage and then go back to elevation, kind of take it easy when you’re doing it, and then bring it in there. You want to make sure this is perfectly centered. I know the grid’s at a hundred yards and you’re going to shoot it at 50… even if you’re 2, 3 inches high at fifty, not a big deal. Couple clicks and you’re there. You’ll see on the review I did on this scope, when i took it out for my 50 yard zero, 2 shots, I was done, I was already out to a hundred. So it pays off to do all this work on the bench, in the shop ahead of time to save yourself time, ammo, and you can get on to enjoying shooting paper or critters or whatever.
So… any other thing I can think of… make sure on a bolt action, when you have it mounted, ring height, it’s easy to get the bolt in and out. You don’t know how many people get it all mounted and they can’t get the bolt in. Or, the bolt’s already in and they go to lift it up and it hits on the adjustment and they can’t take it out. So, little things like that, you know, pay attention to detail. No stress. Make sure the objective bell never touches the bore. Ever. once again, I can’t say it enough - you need to mount these optics with zero mechanical stress, and it’ll pay off in huge dividends.


David Rain
August 24, 2023
I’m purchasing a Taylor’s & Co 1886 lever action 45-70 octagon 26" barrel rifle. I’d to mount a Malcom 6X two tone (18") short scope on the rifle. T& C has no mounting kit, and suggested I contact Hi-Lux for assistance.
What mounting kit do I use..?
Thanks,
David R.