


How to Zero Your Rifle Scope
Zeroing is the process of aligning the optical axis of your optic with your rifle’s bore axis at a specific distance. In other words, zeroing aligns the crosshairs of your scope with your point of impact at a given distance. This distance is known as your ‘zeroing distance’ or ‘zero’ for short.

Typically, the rifle scope is mounted above the barrel axis. Because of this, you will need to adjust the optic so that the optical axis or line of sight (what you are looking at through the scope) matches the rifle’s bore axis (what the rifle muzzle is pointing at).
It is nice to have a magnified optic to see the target better, however, it doesn’t do you any good if you cannot reliably hit what you are looking at.
Mounting the Optic
With the advent of the picatinny rail due to the 1913 MIL-STD, mounting an optic has become much easier. For the rifles with a picatinny rail or weaver rail, all you need to mount the scope are rings that match your scope’s tube diameter. Modern scopes can range from a 1” tube diameter all the way up to 40mm. So make sure that your ring’s (or one piece mount’s) diameter matches that of your rifle scope’s tube diameter.

We recommend 15 in-lb of torque on the scope rings. You do not need to crank the screws on the scope rings. In fact, this may cause damage to the scope tube and the internal components.
We have seen instances where the rings were over tightened to the point of indenting the scope tube. As a result, this caused the internal erector unit to lock up.
The torque setting for the ring/mount’s locking nuts onto the picatinny rail should be no more than 65 in-lbs for 1/2" tactical nuts. The torque setting should be 40 - 45 in-lbs for T-25 screw ring clamps.
Adjustment Turrets
First, let’s familiarize ourselves with the adjustment turrets. Each rifle scope should have two adjustment turrets, one for elevation and one for windage. The elevation turret moves the scope’s reticle in a vertical plane (up and down). The windage turret moves the point of impact in the horizontal plane (left and right).

The adjustment turrets are indexed in angular measurements, either MOA or Milliradian. This means that the actual amount of adjustment you are making corresponds to the distance you are shooting at.
1 MOA equates to 1.047” (roughly 1”) per hundred yards and 1 MRAD corresponds to 1/1000 of the distance to your target.
Some scopes are indexed in Shooter’s MOA. This is known as 1” per 100 yards. If your rifle scope’s adjustment turrets show ¼” per 100 yards, it is most likely indexed in Shooter’s MOA. Check your rifle scope’s manual or the markings on the turret to confirm.
Adjustment Example:
For example, let’s say we are shooting at 100 yards. If you dial 1 MOA on the turret, you will be moving the point of impact by 1.047”. If you dial 1 MRAD, you will be moving the point of impact 3.600”.
At 25 yards, if you dialed 1 MOA, you will be moving the point of impact 0.262”. Dialing 1 MRAD will move the point of impact 0.900”.
Even though we have dialed the same angular value of adjustment at 100 and 25 yards, the actual value of the adjustment depends on the distance that we are shooting.
Direction of Adjustment:
Most rifle scopes turrets will indicate the direction that the POINT OF IMPACT is moving.

If we dial the turret 1 MRAD Counter Clockwise, we will be moving our point of impact UP by 1 MRAD. If we dial the turret 1 MRAD Clockwise, we will be moving our point of impact DOWN by 1 MRAD.
Of course, the actual value of the adjustment will depend on the distance you are shooting at.
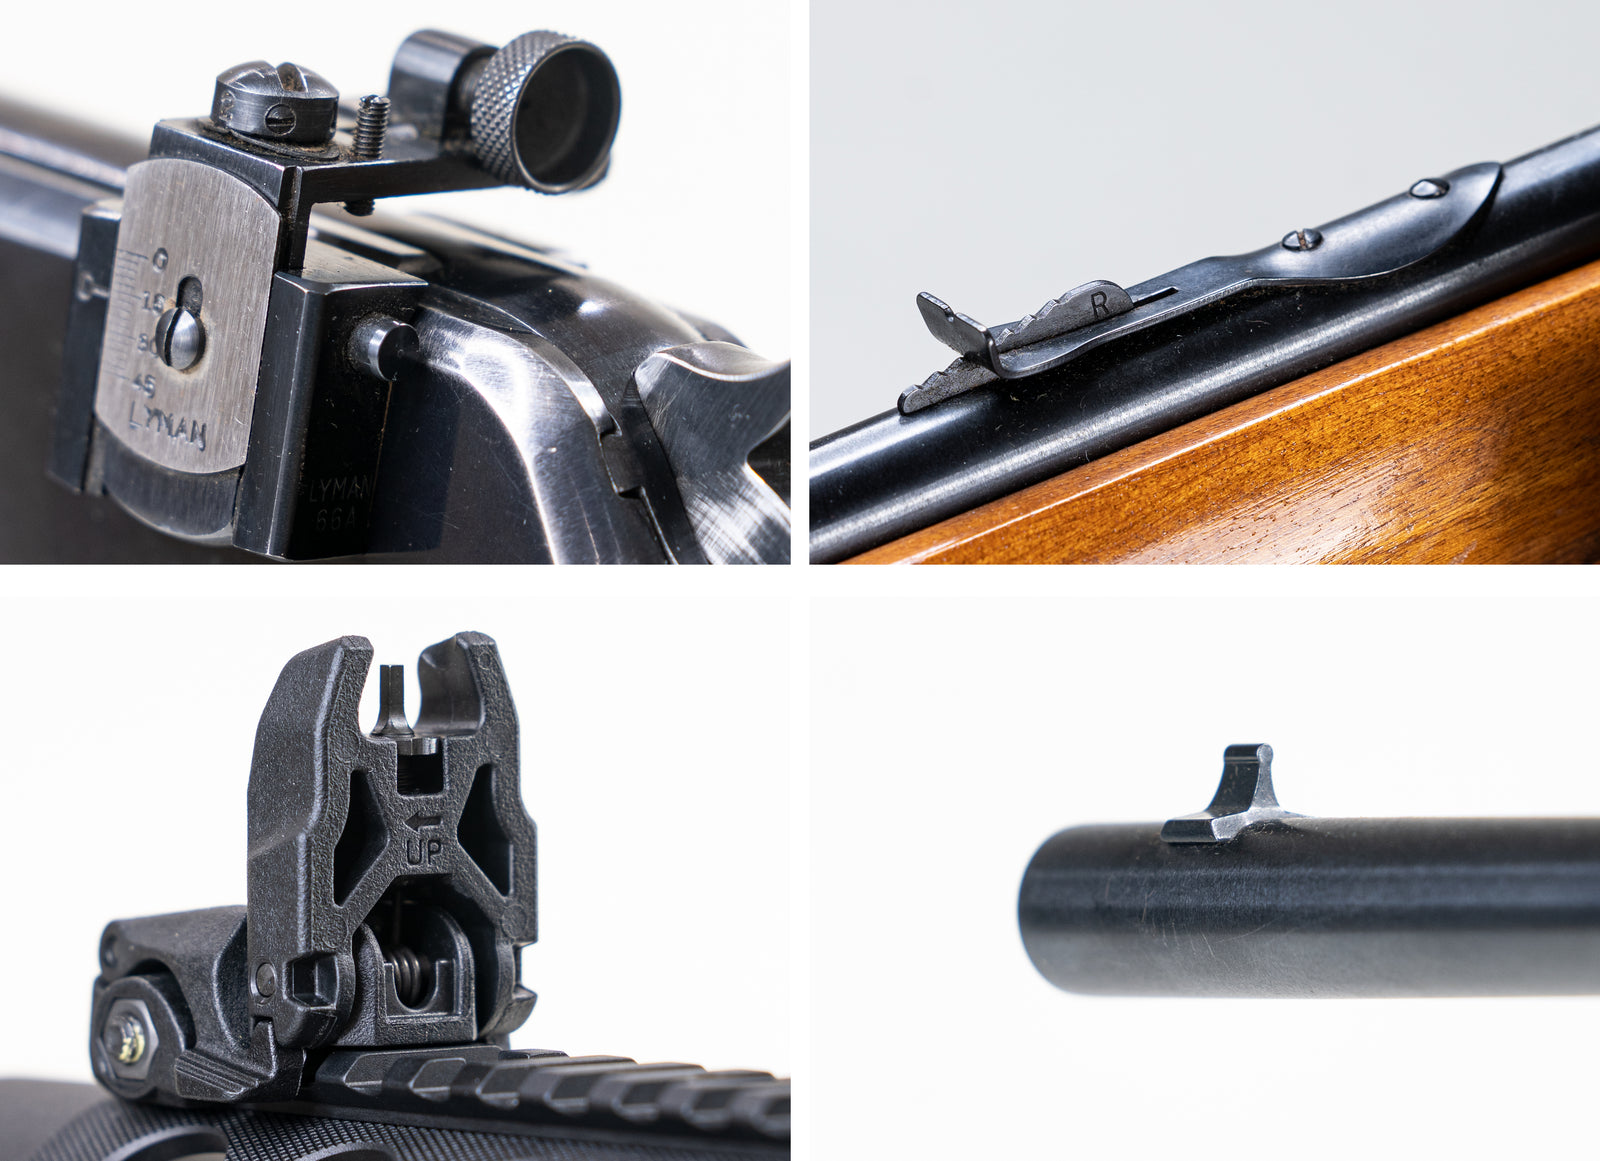
Vintage Rifle Telescopes or Older Riflescopes:
If you are using an externally adjusted riflescope or older “vintage” styled rifle telescopes, the adjustments may indicate the direction that the reticle is moving.
The POINT OF IMPACT will always move in the OPPOSITE DIRECTION that the RETICLE MOVES.
When you move the reticle UP 1 MOA and you realign the crosshairs on target, you will actually be holding 1 MOA LOWER than previously.
Recommended Process:
Now that we’ve covered the adjustments, let’s get our rifle sighted in. Our recommend process for sighting in your rifle scope is as follows:
1) Boresight
2) Shoot Your First Group at 25 Yards
3) Fine Tune Zero at 100 Yds or Your Preferred Zeroing Distance
1) Boresighting:
We will cover a basic and an advanced method for sighting in. For both methods, we recommend starting off with a boresight.
Boresighting is exactly as the name suggests. You will get the barrel roughly aligned with your optic at a distance at least 25 yards away. You can use a laser boresighter or muzzle boresighting device, however, manually boresighting works just as well.
We do not recommend boresighting closer than 25 yards, as the offset height of your scope may be too much for your scope’s internal adjustment travel range. Remember, angular measurements depend on the distance of your target.
Let’s assume the centerline of your scope is 2.5” above the muzzle and you are boresighting at 5 yards.
Lining up the bore axis and the scope’s optical axis will theoretically require about 50 MOA. If your scope only has 60 MOA of elevation travel (30 MOA in each direction), you will run out of adjustment.
How to Boresight Manually:
The first step to boresighting is to make sure that your firearm is safe and unloaded.
Next remove the bolt or the bolt carrier group so that you can look through the bore from the breech end (back end of the barrel).

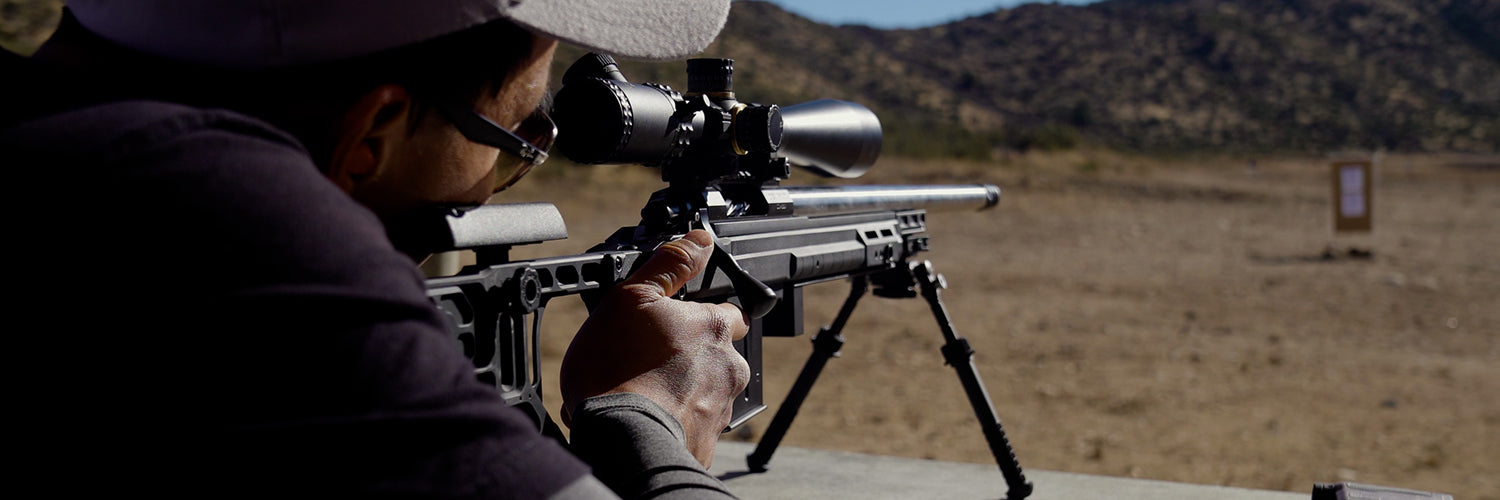
We recommend using a sand bag or a shooting rest to hold the rifle in place as you are making your adjustments.
If you are shooting an AR style rifle, it may be easier to detach the upper from the lower receiver. Put the upper receiver in the sandbag on gun vise so that you can look down the bore from the breech end.

Next, identify a target at 25 yards or whatever distance you would like to bore sight at. We wouldn’t recommend boresighting past 100 yards, as it gets pretty difficult to clearly see the target through the tiny hole of your muzzle.
Line up the bore with the target you have chosen. It is nice to use a large visible target with some visual cues around it so that you can look for patterns through the bore and the scope.
For example, if you are using a circular target, adjust the rifle so that the circle appears to be in the center of the bore (when looking through the breech end) with equal amounts of spacing to the edges of the bore.
Secure the upper receiver or your rifle so that there is minimal movement using a sandbag or vise.
Next, look through your optic. Adjust the turrets until the sight picture in the scope is a magnified version of what you see in the bore. <Show picture of what is through the scope.
Going back to that circle example, line up the crosshairs so that it is roughly centered on the target.
Once you have done that, look through the bore again and verify that the rifle or the upper has not moved during the process. Take your time and make adjustments as needed. You will save yourself ammo and frustration when it comes time to the actual firing.
Once you have aligned the bore and the crosshairs reasonably close, put the bolt back into your rifle or reattach the lower receiver. You are now ready to shoot the first group.
2) Shooting the First Group:
Set up a target at 25 yards. Ideally, this target has an inch grid or cm grid. This will make it easier to determine how much adjustments to dial.
Using a bag, bipod, or your shooting rest, shoot a group of 3 shots. After you have shot a group of three, determine how far the center of the group is from your aiming point. Use the inch grid or cm grid on the target to measure how far you need to move your point of impact so that it lines up with your point of aim.

Be sure to take into account your distance to the target during this process. ¼ MOA at 25 yards is 1/16”, 0.1 Mil at 25 yards is 0.09”.
Advanced Tips
Using Your Reticle to Measure the Needed Adjustment
If you are using a first focal plane reticle, you can use the reticle to measure how much adjustment to dial. Put the center crosshairs or dot of the reticle on your point of aim. Then look at the reticle to see how far offset the point of impact was from your point of aim.
If you are using a second focal plane scope, you can also use your reticle. However, you will need to keep in mind the magnification at which the reticle is true.

Turn the scope to the true magnification power setting. The True Magnification on the Top Angle 7-30X50 MOA is 28X.
For the best results, we recommend that you shoot a group and measure from the center of the group.
Using the hash marks on the reticle, see how much adjustment you need to make to move the center of your group to the point of aim you used.
Make the necessary corrections to your adjustment turrets.
Zeroing for any distance with a 25 Yard Target
The advent of Ballistic Calculators has made it much easier to zero at farther distances.
Gone are the days where you’re scrambling to see impacts or chasing the dust clouds just to get on paper.
You can zero in at 25 yards for virtually any distance. This is useful if you are limited by the maximum distance at the range.
For best results, you will need to first determine your rifle’s muzzle velocity, your bullet’s bullet coefficient (G1 or G7), your bullet weight and the offset between the optical axis and bore axis.
Enter this data into your ballistic calculator. A good free ballistic calculator is JBM Ballistics. There are a lot of inputs on the Ballistic Calculator page. Enter your rifle’s muzzle velocity, bullet coefficient, bullet weight and offset in to the calculator. You can enter your atmospheric data if you have that handy.

Set the minimum range and range increment to 25 yards (or your preference). Set your zeroing range to the distance that you would like the scope to be zeroed at.
Once you are finished entering the inputs, press calculate.
Look at the first row (25 yards) and the second column Drop (in.).
This will tell you how high or low you need to be at 25 yards to approximate your zero at the specified Zeroing Range.
Let’s look at this example: (200 yard zero)
We are shooting a Federal 168 grain 308 Win at 2650 FPS. The bullet coefficient is 0.482G1 and my Zero Range is 300 yards.

To approximate my 200 yard zero, I need to zero my scope 1.0" low at 25 yards. This means that the point of impact (bullet holes) will be hitting 1.0” lower than where my crosshairs are pointing.
Your bullet will pass the line of sight twice. We are taking advantage of the ballistic data for the bullet trajectory near the first zero so that we can set its second zero at our Zero Range.
3) Bring the Rifle Out to 100 Yards (Or Your Preferred Zeroing Distance)
After achieving an acceptable group at 25 yards, you can bring the rifle out to 100 yards.
Like at 25 yards, shoot a group of 3-5 shots. Determine the center of the group and dial the adjustment turrets as needed to line up your point of aim with your point of impact.
After making the necessary correction, you can shoot another group to confirm your zero.
FINAL NOTES:
1) You do not need to shoot a group every time. However, shooting a group will give you more data points and a better understanding of your zero and dispersion pattern.
2) Your rifle’s trajectory will change day to day with the atmospheric conditions. You should check your zero periodically, especially prior going on a hunt or shooting a competition.
3) You do not need to zero your rifle at “round” numbers such as 50, 100, 200 yards. Some hunters prefer using the Max Point Blank Range method. This is a technique that allows you to hold dead center out to a certain range such as 300 yards and have reasonable confidence that you will strike in the vital zone.
4) Getting a good zero is essential for optimal precision at longer distances.


Alfredo Mendiola Loyola
March 02, 2022
Excelent article, It clarified how to and at what distance I should zero my riflescope.
Thank you very much.