The scope’s lenses - the magnification apparatus - bring a far-away object into clear view. Once you can see it, you need a way to pick a specific point on your target to send a bullet towards. And, if your bullet is blown to the side by wind or if you judged the distance wrong, you need a way to measure how far off your bullet is. No sense missing the second shot if you know where the first one went.
To really pinpoint your shot, your scope needs a reticle.
What is a Reticle?

The reticle of a scope on the left, and a view through the scope on the right.
The reticle is the set of lines (sometimes known as crosshairs) within your scope. They will either be made of wire, a design etched onto glass, or (in older scopes) human hair or spider silk. Looking through the scope, the reticle will help pinpoint the exact center of the scope. Some reticles also have other bits of information, such as…
Holdovers
Holdovers are marked points on the reticle’s main lines or floating throughout the reticle. They are used to ‘hold off’ to one side or another when aiming, allowing you to aim at the target without making any adjustments to the scope.
Holdovers are meant for measurement, or as an alternative center. If, for example, you fire a shot that ends up missing, you could keep an eye on where (in the reticle) the shot landed. For your next shot, instead of dialing, you could place that point on your target as if it were the center of your crosshairs. You are now holding the reticle over to the side to place your shot, instead of dialing.
Holdovers are marked with different measurements, depending on the scope and its intended use.

A set of crosshairs held off to one side. In this case, it’s to counteract wind coming from the right.
MOA Holdovers are especially common in modern scopes. These lines indicate a particular MOA (or MIL) value, repeating as it travels out from the center. For example, a scope might have markings every 0.5 MOA or 0.1 MIL along each of the axes. The MOA holdover marking is quite useful when you’re shooting under conditions that are different from the time you’ve zeroed your scope. Without making any changes to the scope’s settings, you can simply use the markings on the reticle to hold over to account for wind or changes in drop.
Some scopes might have unusually-spaced holdover lines below the central point. These lines are often BDC Holdovers - bullet drop compensation. Your bullet falls as it travels farther and flies for longer. While different firearms and ammunition will have a different trajectory, some setups are fairly standardized. In the below example, this is a BDC layout that is quite standard for scout rifles firing .308 Winchester. When this particular scope is zeroed at 200 yards, the lines indicate the drop at 300, 400, 500, and 600 yards. Instead of dialing the scope to put the center of the crosshairs on the center of the target, you can instead aim a little higher and line up the appropriate holdover with the target instead. BDC holdovers have different meanings when applied to setups other than the ones they’re intended for.

A portion of the LER 2-7X scope’s reticle. When zeroed at 200 yards on a .308 Win scout rifle, the lines below the middle indicate bullet drop at particular distances.
Floating Center Point
Your reticle may not entirely cross lines in the middle. Instead, the center point or cross may float, giving you a clear view around the very center of your sight picture. This can be handy for precision shooting, or in events when your reticle might obscure your target. Meanwhile, the long lines extending outward from the center help draw the eye to that middle point.

The center of the M1200 scope’s reticle, showing a floating central point.
Ranging Scales
Meanwhile, some second focal plane scopes have a ranging scale. As you zoom in and out, objects in your field of view change size while your reticle stays the same. If you line up the ranging scale with an object of known size, you can zoom in and out until that object fits its size on the scale. At that point, by looking at the magnification and applying some math, you can easily figure out the distance.
As an example, the below ranging scale is from the M-1000 PRO 2-10X scope. If an 18” target is sitting out in the field, I can zoom in and out until that target fits the 18” measurement indicated on the ranging scale. Then, looking at the magnification ring, I can determine the distance. On this scope, each 1X of magnification applies to 100 yards of distance. If I had to zoom in to 4X to fit the target to the scale, I would know that the target is at 400 yards (4 X 100). Had I needed to zoom all the way in to 8X, I would then know that the 18” target is 800 yards distant.
It almost goes without saying, but different scopes will have different ranging measurements and magnification factors. On one of our other second focal plane scopes, for example, the distance is 20 yards per 1X. If that scope needs to zoom in to 4X to fit the target on the scale, the target will be at 80 yards.

The ranging scale just down and to the right of the center, on an M1000-PRO scope.
Reticle Thickness
The size, or thickness, of the reticle becomes more and more important as either your target gets smaller and/or your distance increases.
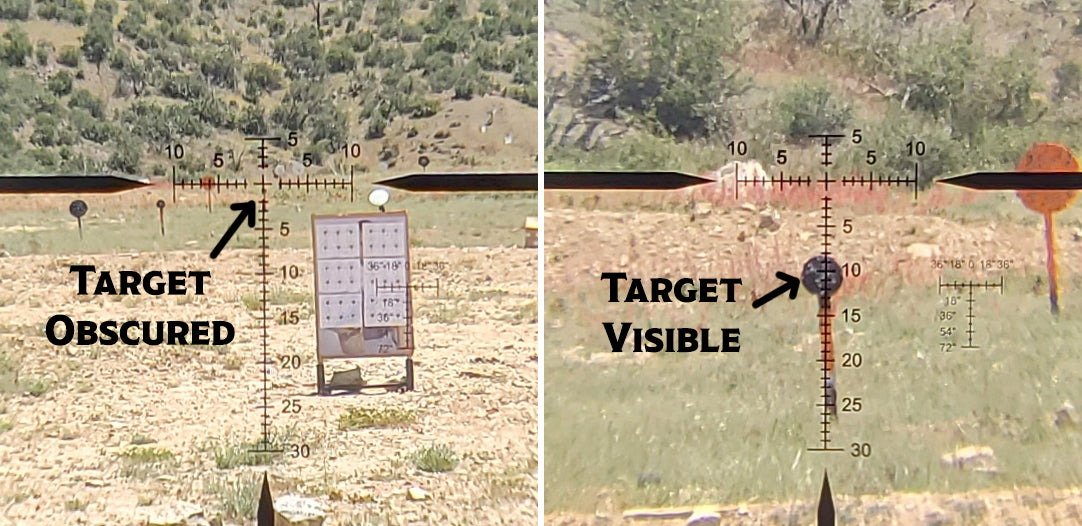
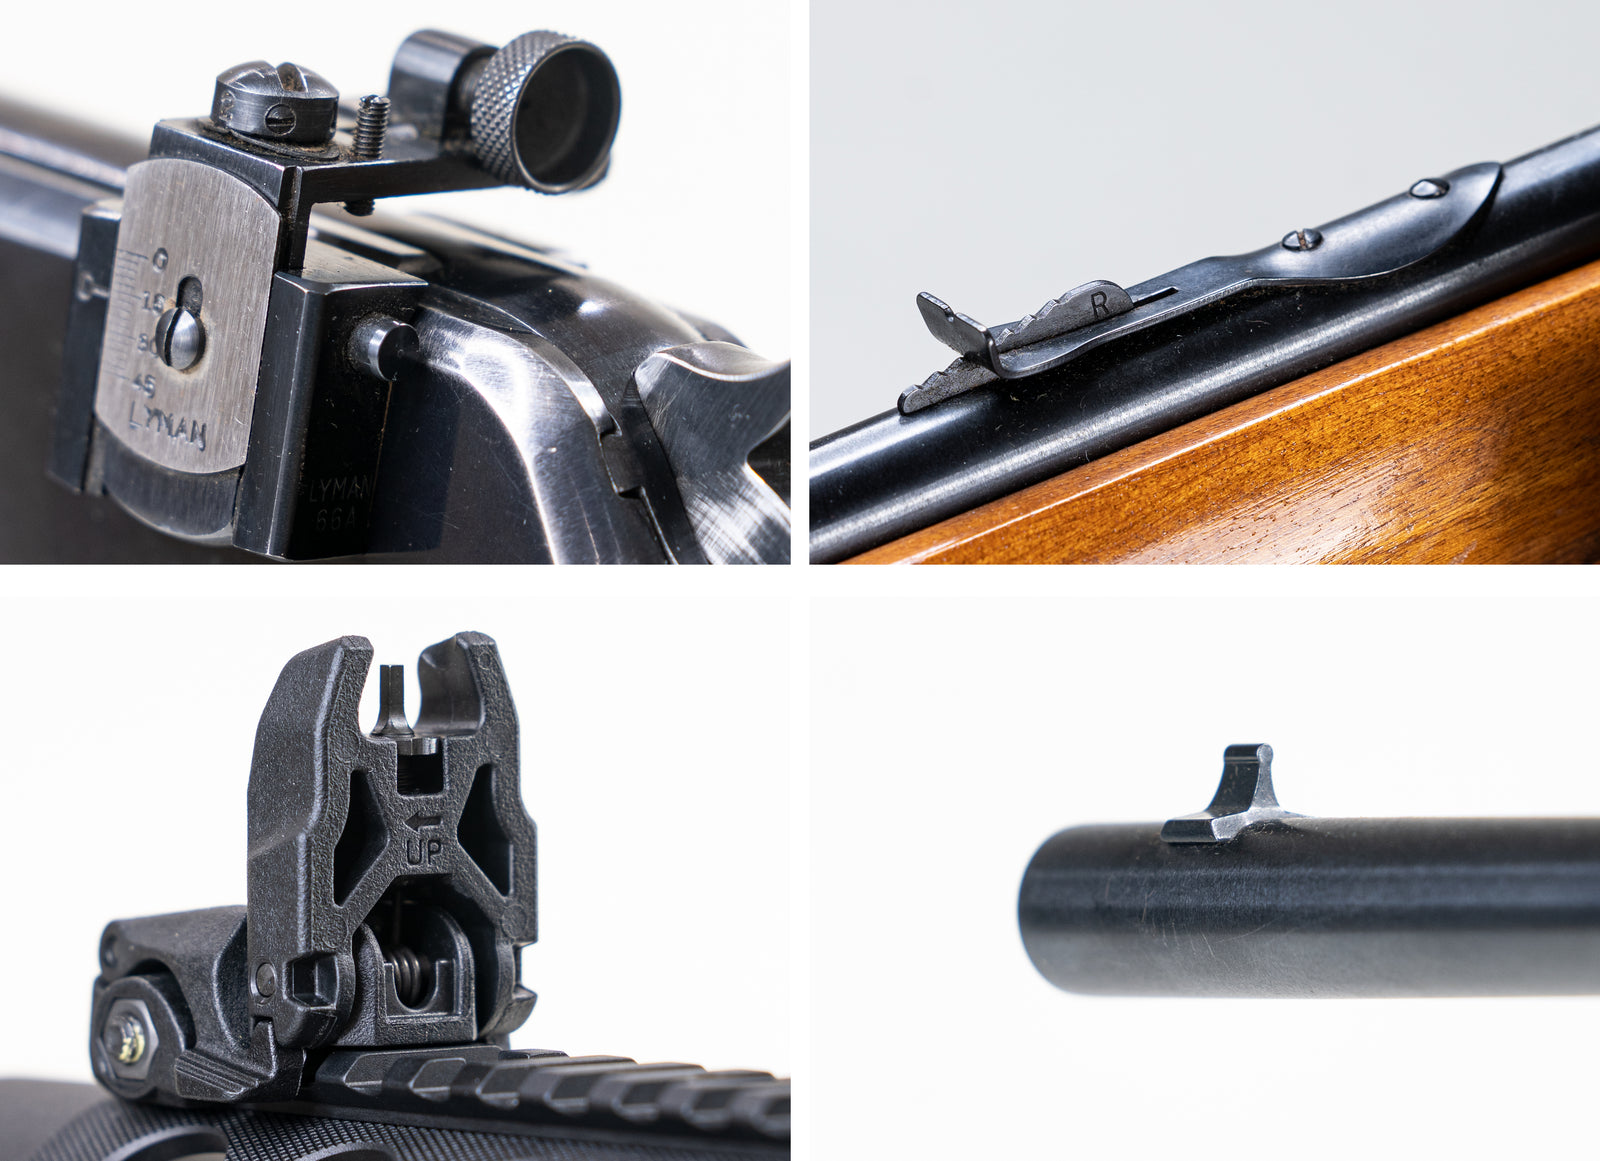
Just as with the red dots and iron sights, having an aiming point that’s visually thicker than your target will make your target impossible to see. On the other hand, having reticle lines so thin that they wash out will make getting on target a more laborious, focused process. There’s a balance to reticle size, and that depends largely on your target size, its distance, and your eyes’ capabilities.

Two views through the same scope. In one, the magnification is rather low and the target far away - the reticle completely obscures the target. In the other, a target of the same size is a little closer and the magnification higher - it’s easily visible.
Leave a comment (all fields required)