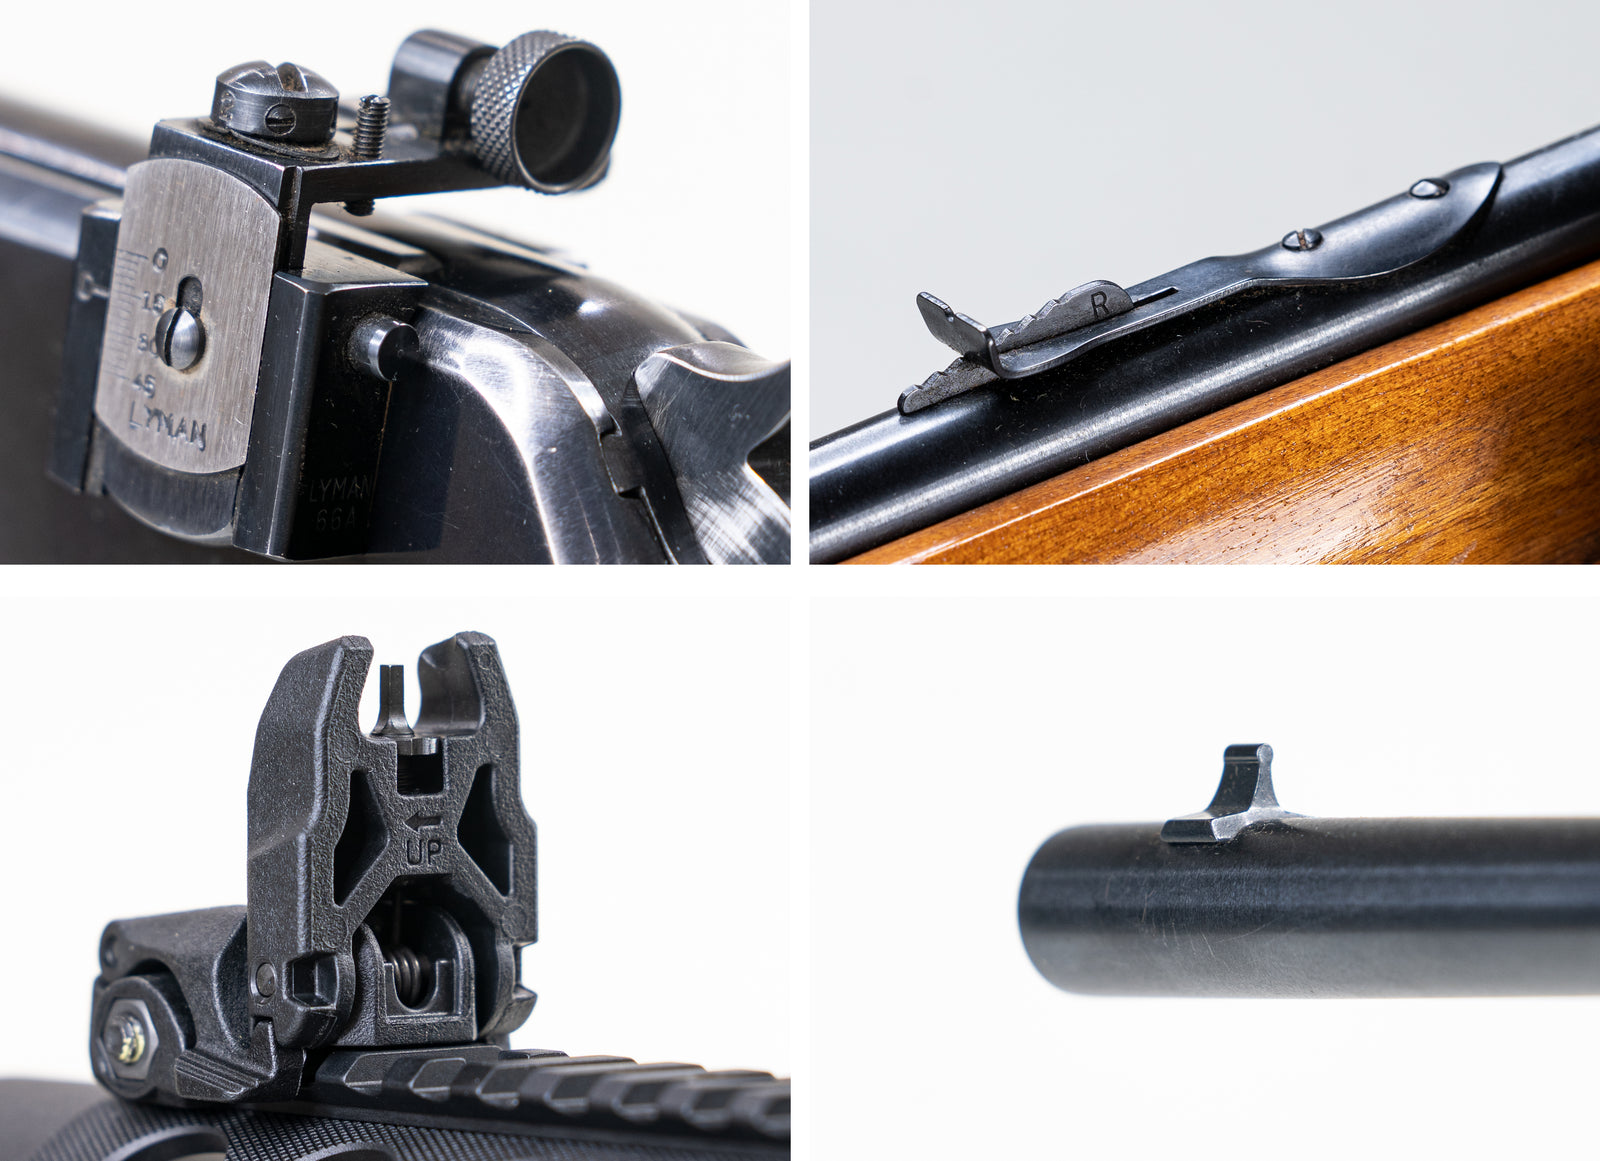
For today’s fare, I present: Overhauling a Daisy 853.
This rifle was purchased in used and refurbished condition. By all accounts, it was in fine firing form and could have run with no issues. Like most used rifles, it had a history that I'm not entirely aware of. Whatever it has been through has left its fair share of marks, in the form of dents, scratches, discoloration, and cracks.

While I was examining the rifle and adding various repairs to my to-do list, I decided to also add a complete refinish. The wood looked quite good already, but I wanted the rifle in my preferred color scheme (not so dark and dull as the pre-existing finish on the rifle).
How to Disassemble a Daisy 853
Taking apart a Daisy 853 will take a few minutes and a screwdriver or two.
1. Remove the screw going through the front portion of the pump/stock. It has a screw that connects through to a threaded catch on the opposite side. By removing one side, the other should just slide out.
2. Loosen the screw at the rear underside of the receiver. This could potentially be one of two styles - either a simple and long screw, or a screw with a connected stop. Either way, loosen it until the screw can wiggle freely.
3. Descend the pump handle about halfway.
4. Move the safety to a halfway position (neither safe nor fire). This is needed for the safety switch to clear the wood.
5. Pull the stock away from the rest of the parts. The metal should stay together as one big piece, and the stock will stay together as another piece. Some plastic spacers (long, thin pieces of plastic) may fall away. They are held in by pressure and position, so this is completely normal.
Repairing the Stock

The stock was the primary concern. All other things aside, the stock was the only broken component of the rifle. Back at the rear of the cutout for the action (the top of the wrist), the stock was beginning to split along a 3-4" section. Two small chunks sat alongside one large split. The large split could potentially have split the entire wrist, but hadn't gotten bad enough just yet.
Still, any accident or rough sideways hit could finish splitting the stock. It had to be addressed before I got to practicing with the rifle or shooting in any quantity.
With the action and barrel out of the stock, I had free reign to repair at will. I also had to be careful, the wood being extra weak without any rigid metal supporting it from within.
The two small chunks of wood slid out quite easily, then the stock forced open to provide room for glue to get into the crack. I probably used more glue than was strictly necessary, but I wanted to be sure the crack wouldn’t reform. (Glue : Gorilla wood glue)
I’ve had a bad experience repairing a cracked stock on an old shotgun, and I wanted to be extra sure that it wouldn’t reappear. To that end, I threw a couple of brass screws into the mix. The wood of the stock was relatively soft, so it wasn't much work to drill a couple holes, drop in extra glue, and affix the screws.

Resizing
I wanted to resize the wood before trying to sand, stain, and coat the wood.

The biggest concern was in the bedding of the action/receiver. Somewhere along the length, it was making enough contact to both cause the split in the stock and prevent the receiver from bedding down fully. The top of the receiver could be pressed down about 1/8", and had a bit of wiggle room. Whatever was causing the receiver not to bed down was also causing the split in the stock - it creaked every time I pressed down.
Through some measuring and observation, I settled on the trigger group. Where it settled through a cut in the stock showed signs of wear, and one end was .030" thicker than the other end. Despite how small the offset was, it looked to be forcing the receiver to the side quite thoroughly.
A dremel knocked out the offset easily. The two halves of the trigger group were also shaped a bit differently, so I put a chamfer on one side of the wood to accomodate the change in shape.
Though the wood could now sit down properly, it wouldn't stay that way. The bridge in the middle of the cutout (about halfway down the length of the forend) was slightly higher than it needed to be. The sheathe around the pump was riding on it. Rather than backfill the holes and redrill, I decided to cut two slots along the length of the bridge. Not the cleanest solution, but it provided room for the sheathe without compromising the stability of the system.
The receiver finally bedded down properly.
Refinishing the Stock

Now the biggest segment of work was ready to begin. I wanted to take the existing finish off, but I didn't want to thin the fore-end out too much. The left and right sides of the grip were rather thin and long, and they don't have much material to lose.
I started with sandpaper, at 220 grit. Not too rough, with plenty of control. I even made my own sandpaper-holder with a foam backer so I could sand on contours without much pressure. After going over with the 220, I switched to 400. Damaged regions of the stock still held onto a bit of finish, but not enough to detract from the color I was going for.
After the sandpaper was the razor. Using a utility razor, I scraped the wood smooth. A good blade can provide a smoother surface than sandpaper, which always leaves minor grooves in the wood. Luckily, this was a fairly soft wood and easily yielded the remainder of the finish.

My wood stain was applied in 3 coats. I used a mixture of instant coffee, coffee concentrate, and Iroshizuku 'yama-guri' fountain pen ink. The pen ink provides a subtle red-brown coloration, while the coffee lends a sedimentary brown. With both in a water suspension, I trusted the stain to settle in fairly evenly. Bonus: my rifle now smells like coffee.
Once the stain dried, I put a bit of my preferred sealant on - Howard Feed-N-Wax. It's a fairly natural sealant and conditioner, mostly beeswax and turpentine. Two coats were all the wood needed.
Other Fixes

A few screws needed to be tightened or replaced. Pretty straightforward stuff there. I used a sharp piece of metal to poke a spring into place, where it had sat offset before.
The only remaining issue with reassembling the stock lay in the rearmost (underside) screw. The action sat a little lower in the stock, and the screw needed to be made shorter. I didn't want to deal with shortening the screw, so I added a spacer to the underside of the plastic washer instead. Same function, different method.


Leave a comment (all fields required)