The primer is the little swab of explosive material that sets off the rest of the propellant. To be more specific - in a centerfire cartridge, the primer is a small metal cap with a tiny amount of explosive compound inside, set into the primer pocket at the base of the case (the case head). When the firing pin strikes the primer cap, the explosive mixture is crushed between the metal of the cap and a hard piece of metal called the anvil. A small explosion happens. Hot gasses rush through the flash hole at the bottom of the case and rapidly heat the propellant. This suddenly increases the temperature and pressure of the propellant inside the case, starting the chain reaction of burning powder and expanding gas that will send your bullet flying.
The primer cap is a metal stamping made from a rolled copper-alloy sheet. These small caps are then nickel plated. The caps are spread across a perforated metal sheet, where each cap falls into small holes with the open side up. Wet priming compound is rubbed over the surface of the metal sheet to fill each cap. They are then allowed to dry before being separated. Priming compound is a serious explosive, and much safer to handle when wet. You likely won’t be making your own primers at any point, but you should at least understand that they don’t function well when combined with water. If your primer gets wet, it may never work again.

A look at a “Boxer” primer. On the left, a real case and primer, along with an already-fired primer split into pieces. On the right, a cross-section diagram of the case and primer.
A slow impact from the firing pin, even to the same pressure, likely won’t set off a primer. If the firing pin strikes the primer too gently, it also will fail to go off. When the primer takes a light primer strike, it may not fire yet still have a small dent from the firing pin. It will still be a usable round, however, and should be treated as such.

A few rounds showing, in order: Too much pressure, a normal firing pin hit, and a weak strike that failed to set off the round.
There are a few sizes and styles of centerfire primers, which have been standardized for quite some time. The two styles of primer are Boxer and Berdan. The type and size of primer that your case accepts will depend on the case’s primer pocket, anvil, and flash hole arrangement.
A Boxer primer has an anvil built into the primer cap. When the primer is crushed by the firing pin, the anvil halts up against the base of the primer pocket and acts as you’d expect an anvil to act. The rapid hit of the firing pin hammers the primer compound down onto the anvil, setting it off. Cases that use Boxer primers have a single flash hole in the center.
A Berdan-primed case has the anvil as a permanent part of the case, not the primer. These cases have two flash holes, one on either side of the anvil.

A look at the differences between Boxer and Berdan primers. Largely, the difference comes down to flash holes and anvils.
Boxer and Berdan primers were both invented around 1860. Edward Boxer crafted the Boxer primers in England, though presently they are the most common sort of primer in the U.S. Hiram Berdan, A U.S. Army Major General, invented his primers in the U.S., though they are now more popular overseas. How ironically the times have changed.
The specific primer that your cartridge uses won’t make much difference in ballistics. As long as it sets off the propellant, you’re on the right track. The specific style and size of primer really only comes into play if you’re reloading your own ammunition. In that case, choosing the right primer is a matter of what will fit and what won’t.
Primers are not interchangeable between the two styles due to the difference in anvil location. Berdan-primed cases can be reworked to accept Boxer primers by grinding away the case’s anvil. The reverse is not true, as it’s difficult to install an anvil in a Boxer case.
Berdan primers come in many different sizes and are less available in the States. That, in addition to the possibility of the case’s permanent anvil potentially wearing down, make Berdan-primed cases less suitable for reloading. Boxer primers have a built-in anvil, so wear isn’t an issue. Each primer can only be used once, so the anvil never has a chance to wear down. To make reloading even easier, Boxer primers come in only four standardized sizes:
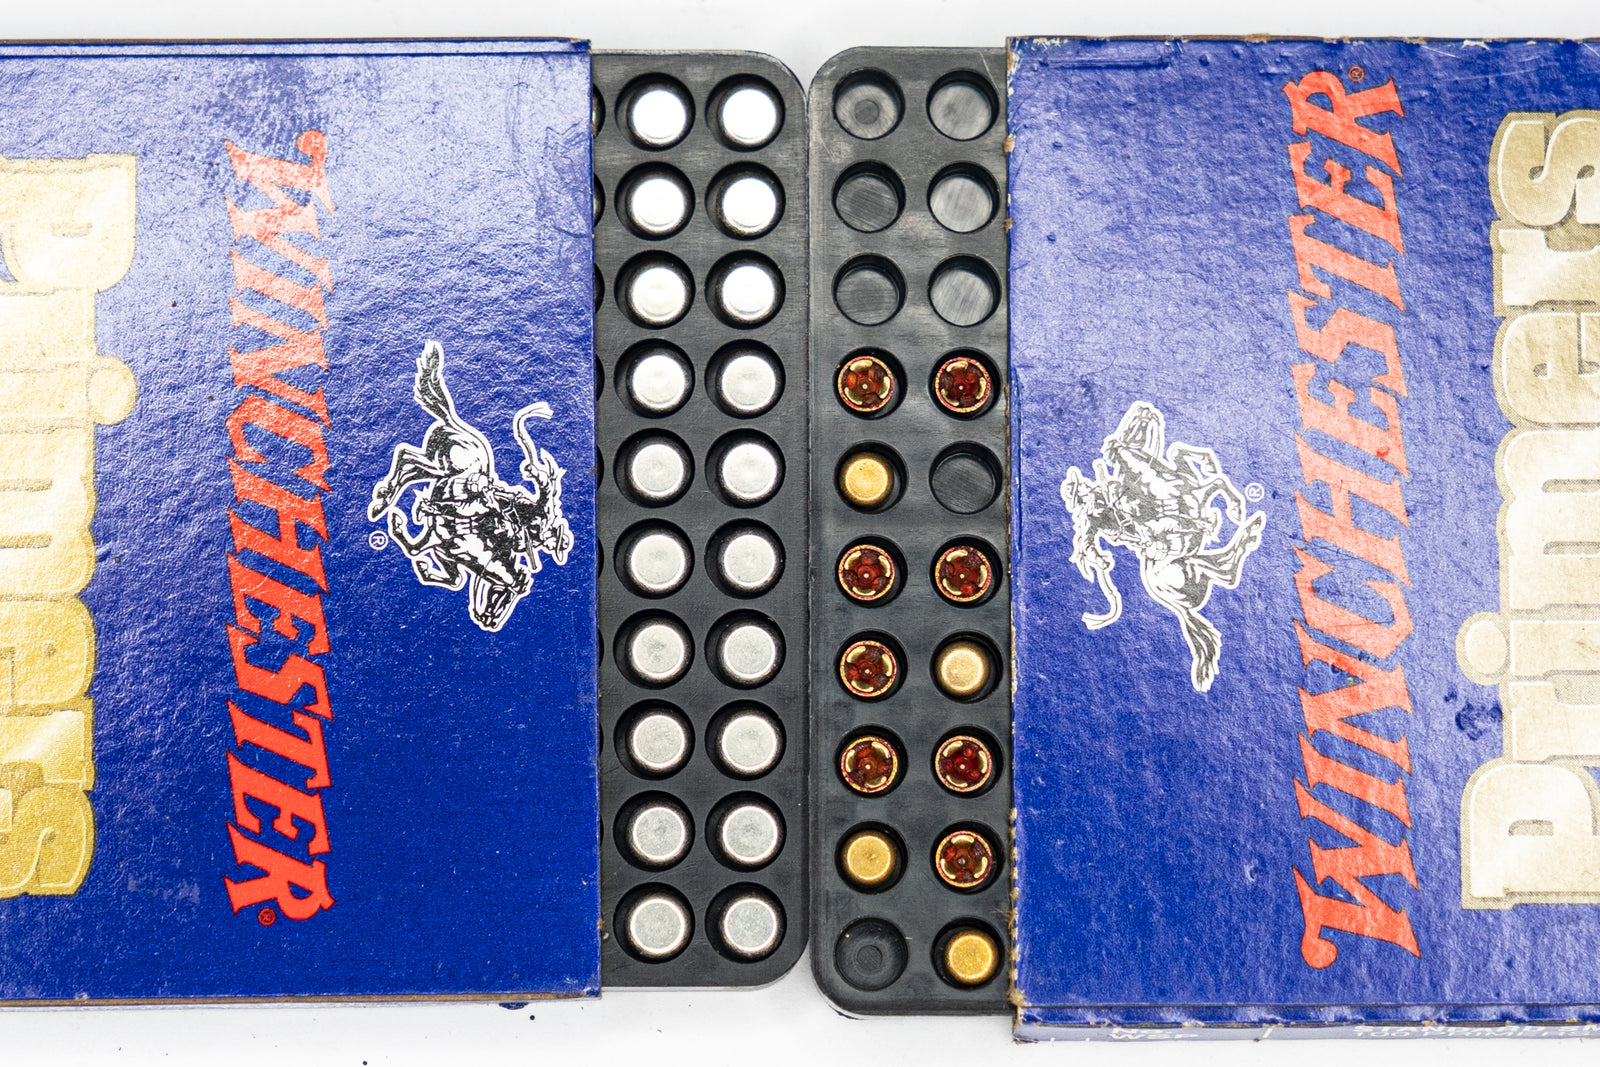
- 0.175” (4.45mm) - Small diameter pistol or rifle primer, such as .38 Special and .223 Remington
- 0.209” (5.31mm) - Shotgun shell and muzzleloader primers, such as 12 gauge and 20 gauge shotgun ammo
- 0.210” (5.33mm) - Large rifle or large pistol primer; which appears in the ever-popular .308 Winchester cartridge
- .315” (8mm) - .50 BMG (and similar) exclusive primer

Two sizes of Boxer primers, with different alloys. Some have been flipped over in the right case, showing the anvil and priming compound.
In addition to the diameter, the metal thickness of each primer style varies. Rifle primers are subjected to higher pressure and take a bit more force to ignite. Pistol primers are thinner and easier to set off. Primers used in military ammo are often tougher than civilian primers. Primers may also be coated in different materials.
In the ranges that I frequent and for the ammunition that we reload in the office, Boxer primers are the standard. If you’re planning on reloading your Boxer-primed cases, choosing the correct primer size is easy. There are only 4 options, one of which is specific to the .50 BMG. This book focuses on rifles meant to send bullets to great distances. If you’re using this sort of rifle and ‘full power’ cartridge, you’ll almost certainly reload with the Large Rifle Primers.
Primer mixtures for military application changed around 1955, and in hunting applications following WWII. Prior to this point, the priming compound contained chlorates, which left corrosive salts in the barrel after firing. These salts would combine with moisture in the air and degrade the bore.
If you’re buying vintage surplus ammo, please check whether the primers are marked as corrosive or non-corrosive. It’s a pass-no-pass sort of test, there’s no mild corrosion primer. It’s either corrosive, or not. Surplus ammo with non-corrosive primers are typically more expensive than their older counterparts.
That being said, I’ve fired plenty of old, fantastic, and corrosive Greek and British surplus ammo through a 1903A3 rifle. Just make sure to clean the bore thoroughly afterward, preferably immediately following your range session. And, as always, do not submerge your rifle in water if it can be avoided.
Leave a comment (all fields required)